It was off to the operating tableworkbench with the dead monitor. In case you haven’t been following along, the Samsung 226BW monitor I picked up a while ago from EBay died a couple days ago.
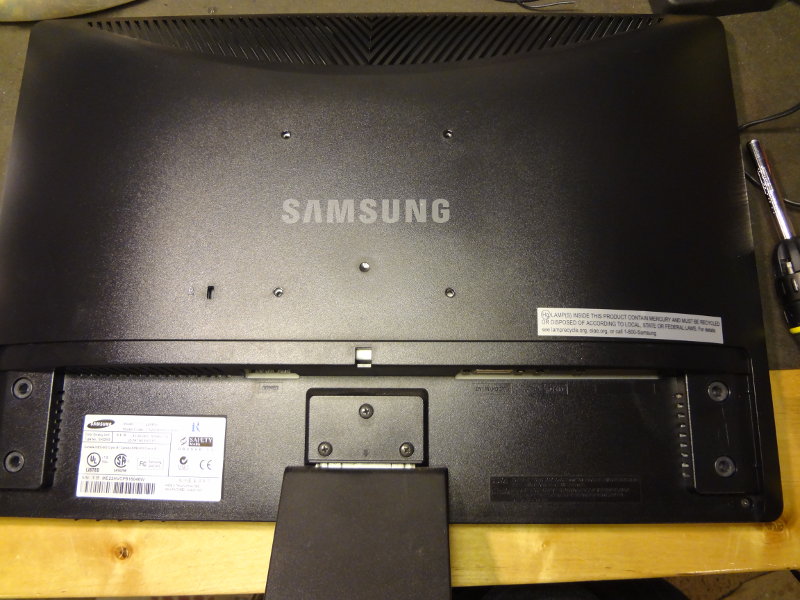
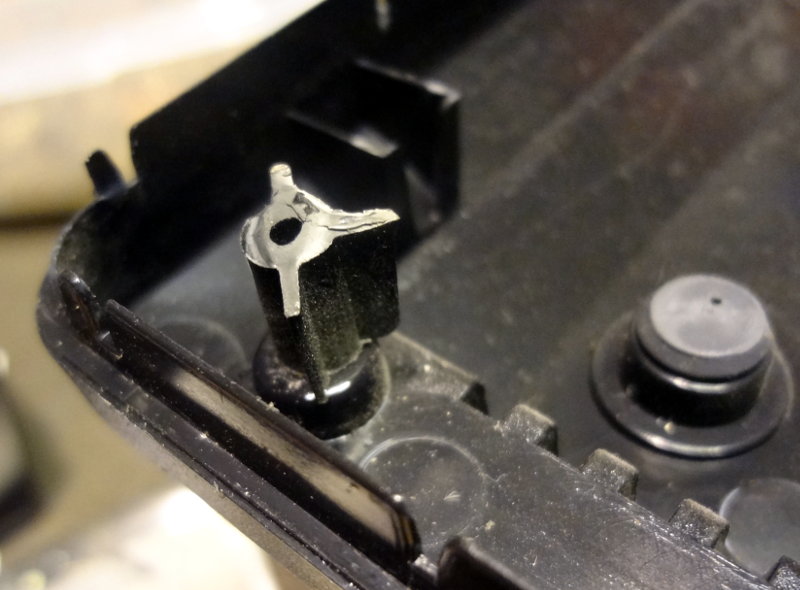
Following this very helpful disassembly/repair guide, I got the covers off and the display panel separated from the chassis. In the process I discovered evidence of either a previous repair attempt, rough handling or just fragility from old age, since holes for two of the three screws holding the case on were broken.
After disconnecting the wires and separating the display panel, I made it to the circuit boards.


Right away, I could see four bulgy capacitors. My board must be a different revision than what was posted in the guide because that board had three caps. They are very bulgy indeed. It’s a good thing they didn’t explode or anything.
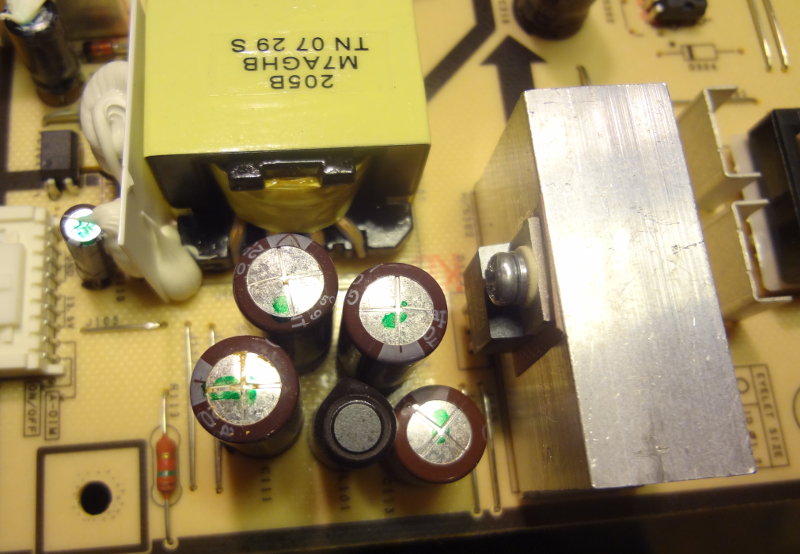

Note the very domed looking tops of the capacitors. The other brown thing in the middle of the capacitors is an inductor.
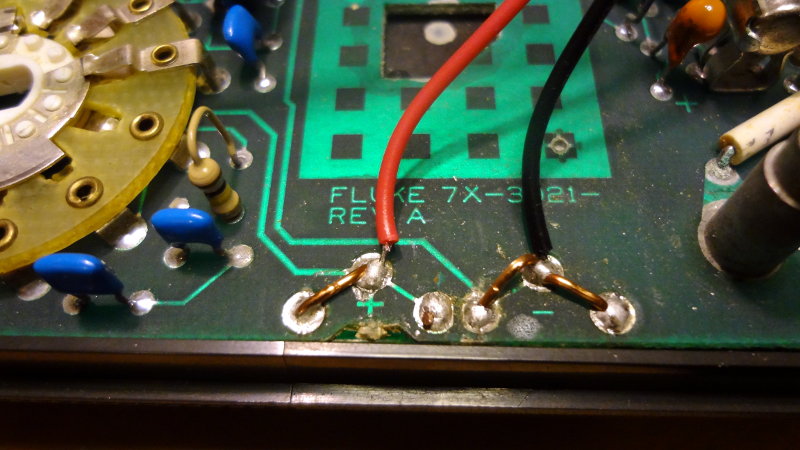
Fortunately the back of the circuit board has the capacitor positions labeled, so there’s no need to guess which joints need to be unsoldered. I’ve outlined them here in the yellow boxes.

Inspecting the other capacitors suggested they were all still good with no signs of bulging. There are a couple others that I could probably replace, but some of the others, like the big black 100μF 450V capacitor, are glued to the board or other components and I don’t want to risk damaging the board just to replace them. So now it’s off to do some shopping to find some replacement caps.
Here’s the shopping list.
- 820 μF 25V 105°C (10 mm x 20 mm) – C111, C112, C114, C316, C317 (Mouser 667-EEU-FM1E331L)
- 330 μF 25V 105°C (10 mm x 15 mm) – C113 (Mouser 667-EEU-FC1E821S)
- 22 μF 50V 105°C (5 mm x 10 mm) – C318 (Mouser 667-EEU-FM1H220)
- 47 μF 50V 105°C (5 mm x 10 mm) – C107 (Mouser 667-EEU-FC1H470)
Two of the 820 μF and the 22 and 47 μF still seem to be in good shape, but I figured since I’m replacing capacitors, I might as well replace those too. I’ll probably order at least two sets of each so that I’ll have them on hand in the event my other monitor (which is even older than this one) dies in the same manner.
Parts are on order from Mouser and should be here in a few days. Stay tuned for part 2 (or maybe 3), in which the capacitors are replaced.

