Nexus 5 X-ray – Hi Res

A little while ago, I took a radiograph of my Nexus 5 using a conventional radiographic unit.

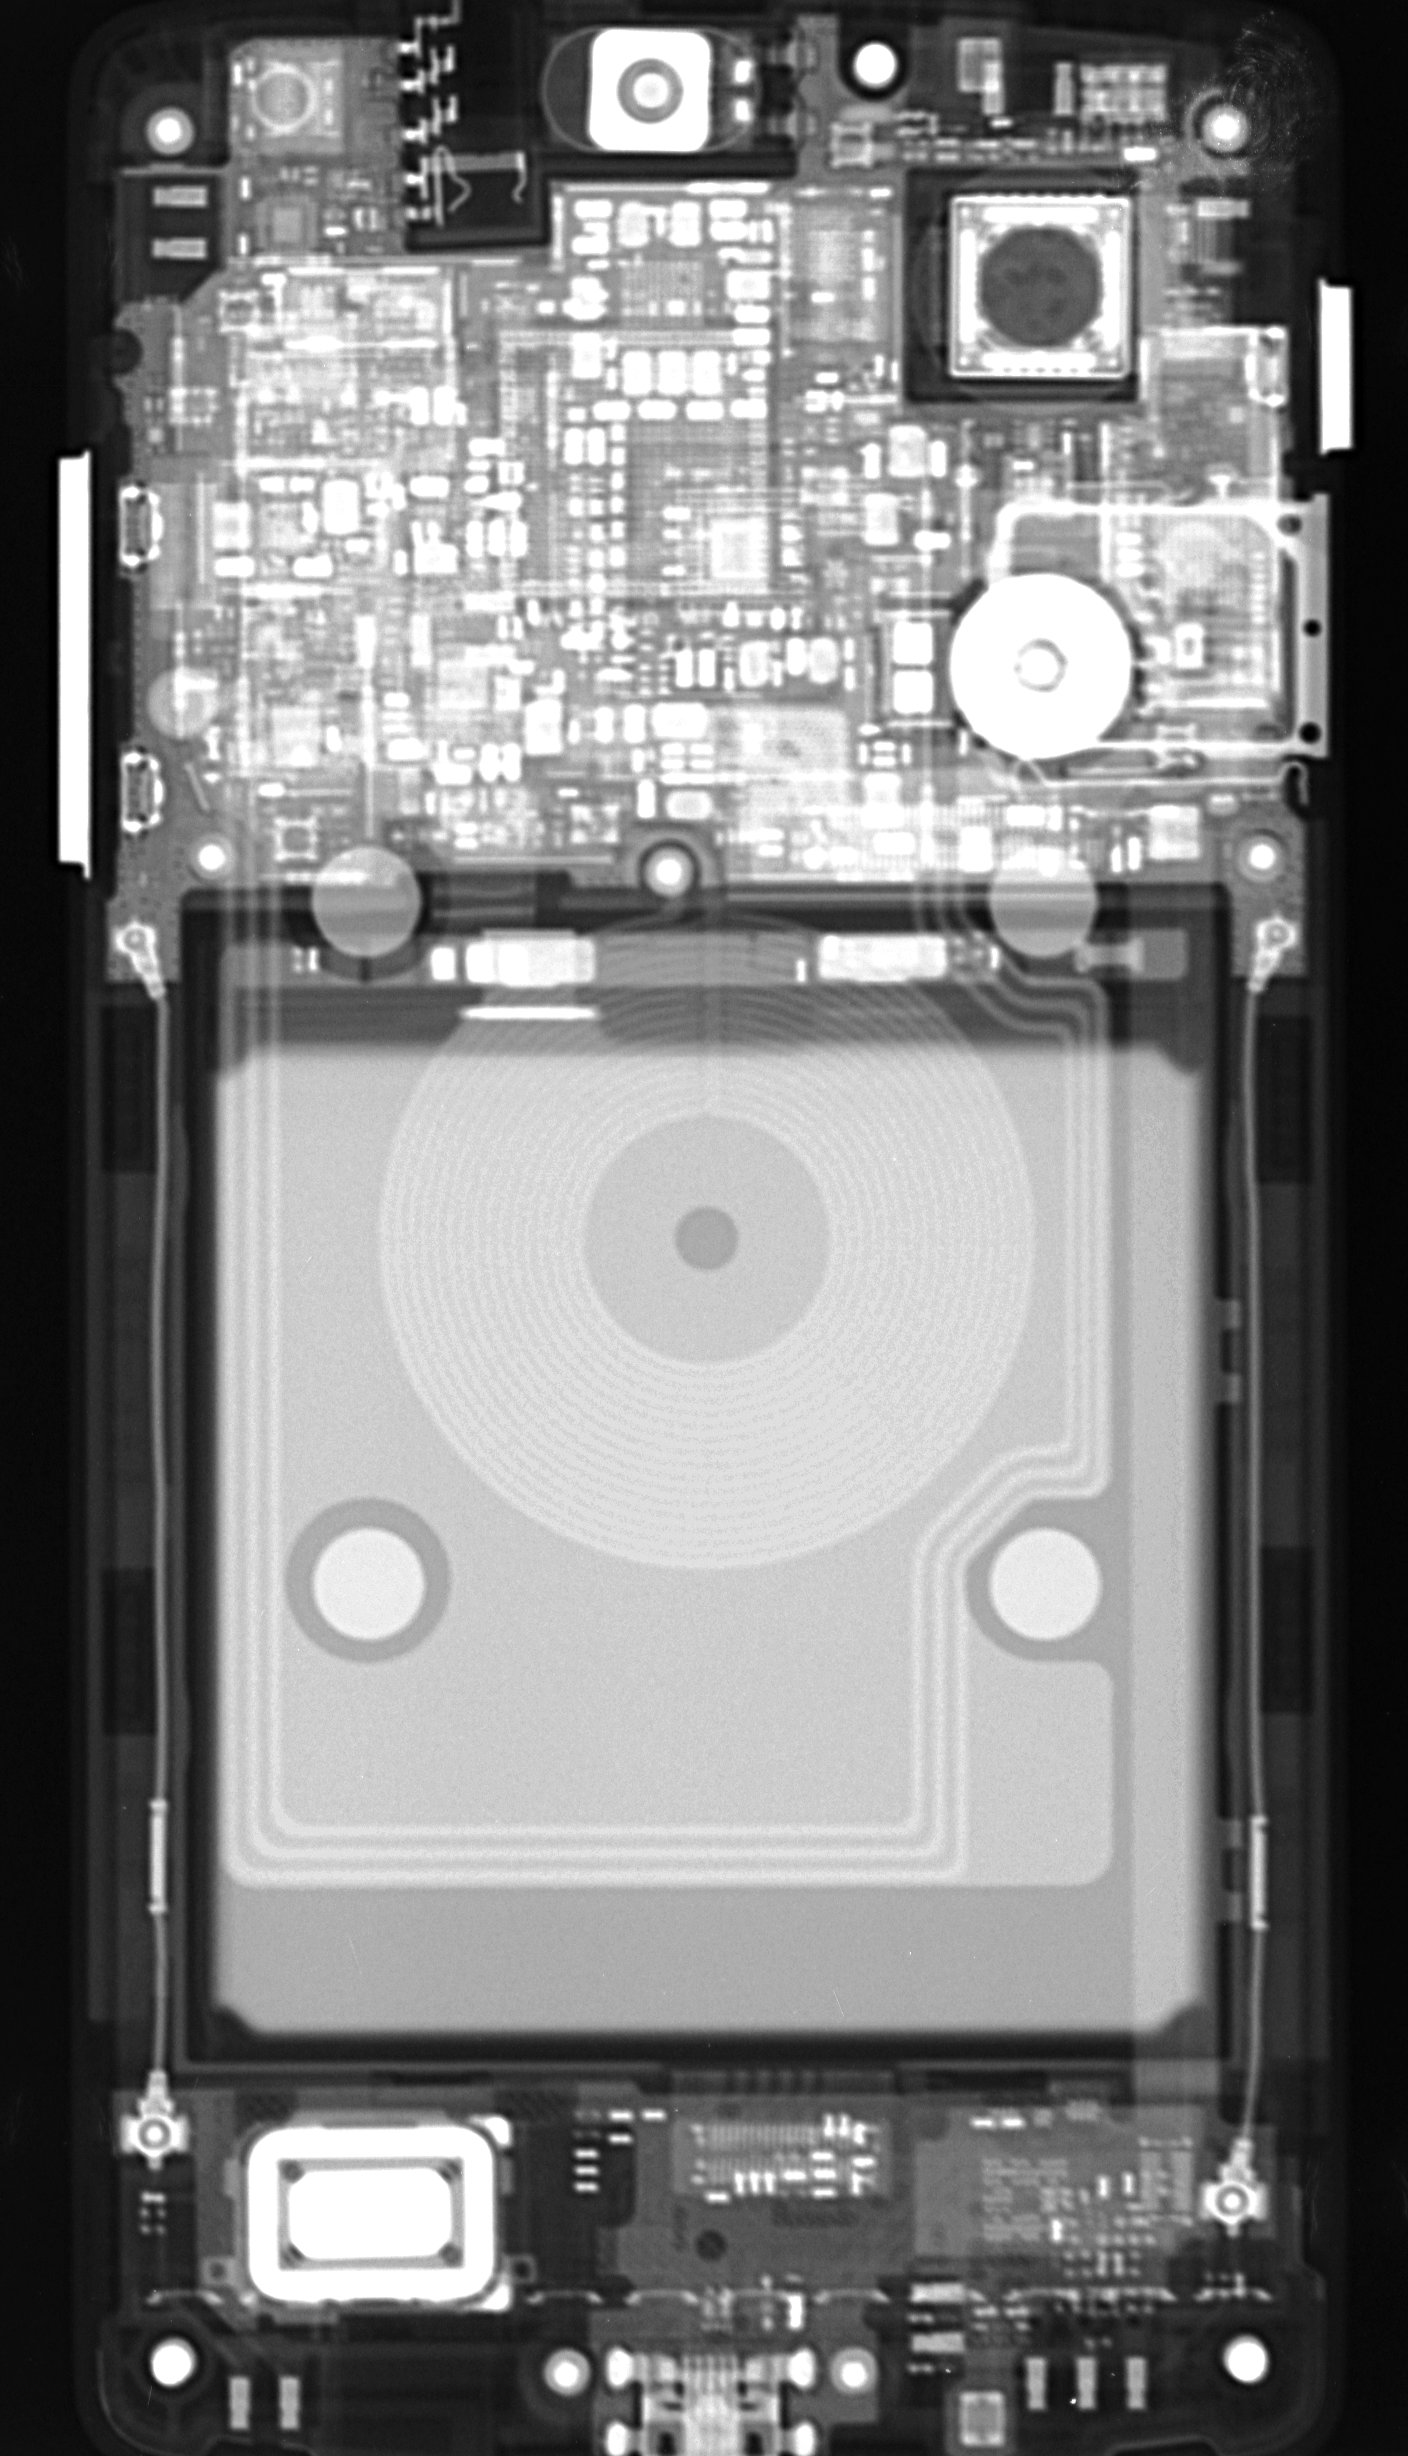
Today, I was doing some testing on a mammography unit and acquired another x-ray of my Nexus 5. The mammography unit uses a much smaller focal spot, and will produce much sharper images. However, with the much lower kV mammography units use, it’s a lot harder to get adequate penetration through denser objects (like circuit boards and batteries).

This image was acquired at 34 kV and 120 mAs using the large (0.3 mm) focal spot. Its pretty easy to see that this one is a lot sharper than the other image (click the image to embiggen to all it’s glory).

Nexus 5 X-ray
Nexus 5 X-ray

The main circuit board area towards the top as well as the battery is harder to see through than the other version, because of the lack of penetration of the low energy x-rays. It’s a lot easier to see some of the detail in the circuit board at the bottom of the phone, because there’s less to go through there.

Nexus 5 X-ray

Continuing the tradition of making radiographs of my electronic things, I got a radiograph of my new Nexus 5, the DDS modules and the Arduino Pro Mini.

The Nexus 5. The battery takes up a good bit of the space inside. The square object to the right of center near the top is the camera module. The SIM card tray is easily visible below that. The boards look pretty crowded (click for the jumbo sized image).

Nexus 5 x-ray
Nexus 5 x-ray

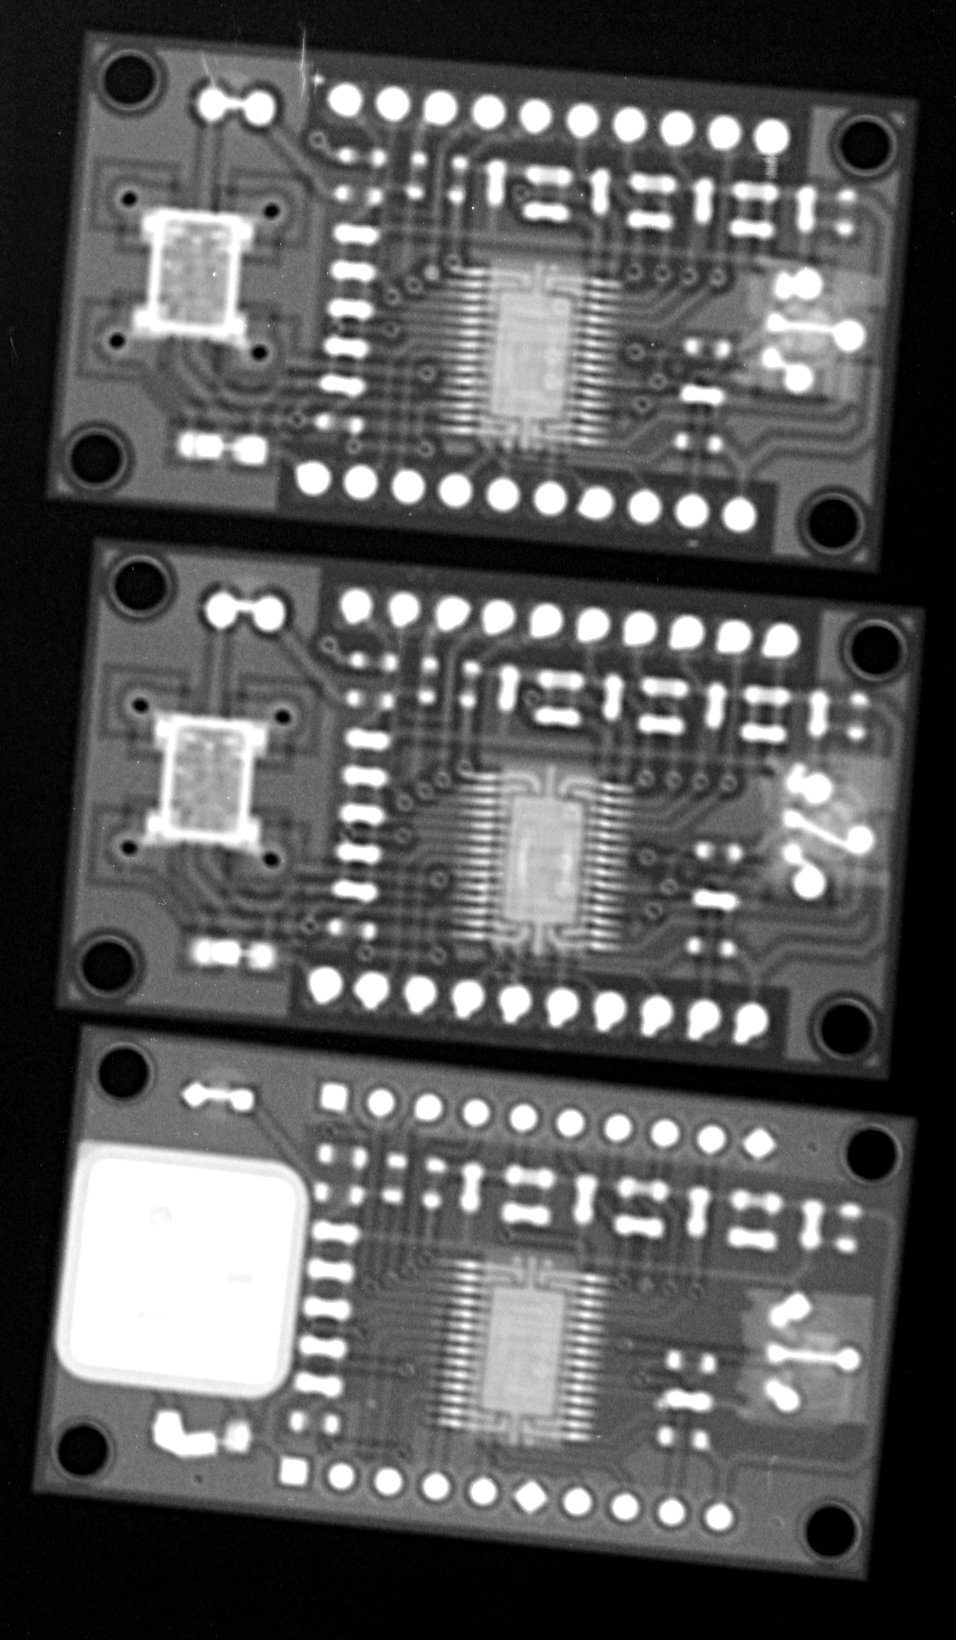
The AD9850 modules. Not a whole lot to them. The crystal in each module is easily visible as the rectangular object on the left. The AD9850 chip is in the middle.

AD9850 modules
AD9850 modules

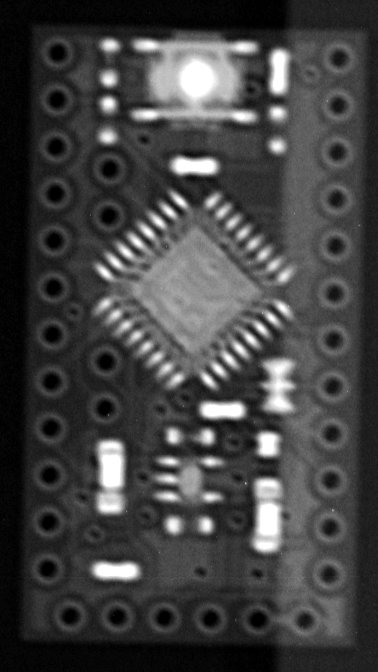
Sparkfun Arduino Pro Mini. Not a whole lot to this either. There’s the AT Mega 328P chip in the middle, and at the top is the reset button.

Sparkfun Arduino Pro Mini x-ray

All images were acquired using an 8″x10″ cassette. X-ray technique was 80 kVp, 5 mAs with the small focal spot (0.6 mm). Source to image distance (SID) was 172 cm, and the object to image distance (OID) was about 100 cm giving a magnification factor of about 1.7. This results in some magnification blur, but at this magnification, the Nexus 5 takes up pretty much all of the cassette.

Upgrading to a Nexus 5

After serving faithfully for the past ~2.5 years, my Galaxy S2 is being replaced with a Google Nexus 5 (16GB version).

Although the S2 is still working pretty well (especially after the Cyanogenmod upgrade), it’s starting to suffer from some hardware problems with the buttons. It’s already been sent in for one repair and probably not worth the time or cost to send in again.

We’re switching over to Ting mobile service (<- referral link), which was another reason for me to get the Nexus 5. Ting’s pricing model is appealing, which is the main reason for switching. Based on current usage, the cell phone bill can be cut by about half with Ting’s pricing.

There isn’t much that comes in the Nexus 5 box. The phone itself, wall wart and USB cable. Since I got it from Google, the SIM card was a separate acquisition.

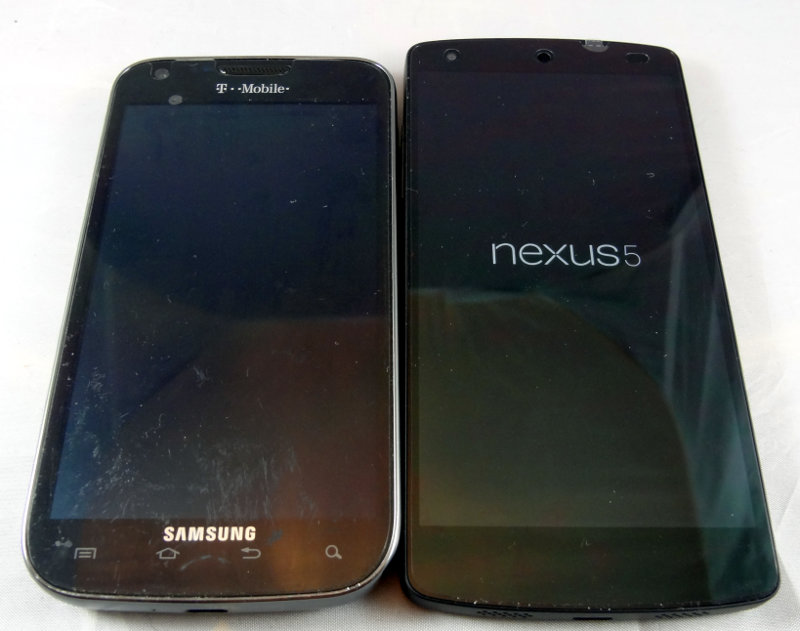
When I first got the S2, it was a humungous phone, especially compared to the Cliq the S2 was replacing. The Nexus 5 is even longer than the S2, although fortunately the width is about the same as the S2.

A Samsung Galaxy S2 next to a Google Nexus 5

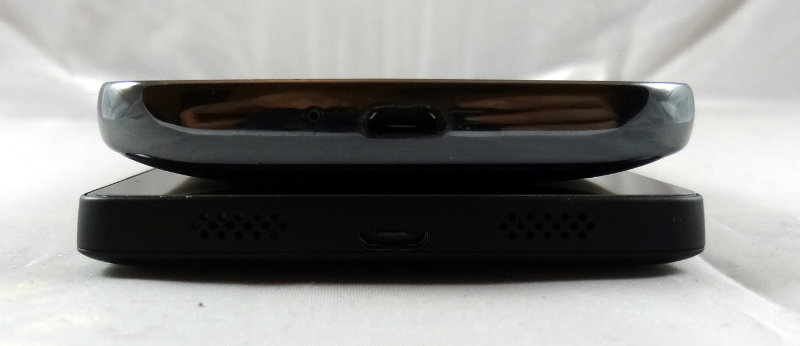
The Nexus 5 is marginally thinner than the S2 and has a nice rubberized grippy back. I doubt I’ll notice it much after I put it into whatever case I’ll be getting for it.

Samsung Galaxy S2 sitting on top of a Google Nexus 5 for size comparison

So far the only thing I don’t like about the Nexus 5 is that the battery isn’t replaceable, which is something I like. It’s much easier to pop in a fresh battery than it is to find a place to plug in and wait for the phone to charge. Fortunately I have one of those big 15 Ah battery packs that I can use for charging USB devices. I’ll probably be carrying that with me more often now.

I think I’ll like this phone.