At long last I’ve finally gotten around to putting the coax and interface cord on the Softrock Lite II receiver. The cord to plug into the sound card came from some old discarded speakers, and the coax is a short length of RG58 with an SMA connector that I picked up a while ago. I was originally going to use it for an antenna project for the VX8-DR, but figured I could always get another one later.
Now I just need to find some time to get it on the air. If I want to use the antenna, I’ll have to find an SMA (female) to SO-239 adapter, or make some jumper wires to connect the ends.
Finally got around to putting the last components on the Softrock Lite II receiver. It passes all the voltage tests, which seems like a good sign. I replaced the breadboard jumper terminals with a 9V battery connector to make it more portable. Now all I need to do is make an antenna connector and a wire to a sound card and I should be up and running with it. I’ve got a short length of coax with an SMA connector on it that I can use for the antenna connection, and I’m pretty sure I can find something in my junk box to cannibalize for the sound card connection.
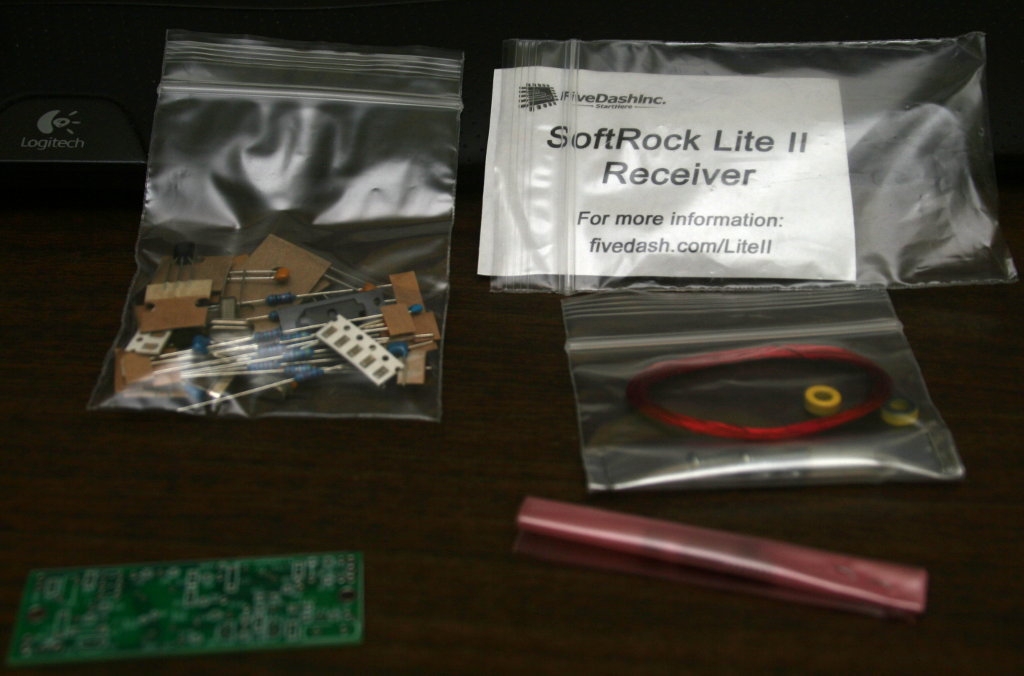
Finally got around to starting one of the Softrock radios I got a few months ago. Decided to start with the Softrock Lite II receiver since it was the easiest and didn’t have too many SMT components to put on. Most of the components are through-hole, with a few SMT capacitors, ICs and an op amp. Perfect for starting off with SMT work.
It’s a pretty easy build, and the build instructions are pretty thorough and informative. The instructions break up the build into the different sections of the radio, explain what it does and provides the schematics, list of parts, where to put them on the board and tests afterwards.
I did run into a couple of problems with getting the SMT capacitors on. One of them was the wrong one (didn’t take note that one set was marked and the other wasn’t), and two of them I put in the wrong orientation because I wasn’t paying attention to the diagram. Other than that the SMT work turned out to be a little easier than I thought it would be.
The build starts with the power supply part of the radio. All through hole stuff, except for one SMT capactior, so pretty easy. Just need to pay attention to the orientation of the diode.
I used a couple of jumper pins and used power from the MiniLab to supply power to the radio for testing. The oscillator part was next. Again, all through hole stuff and one SMT capactior here for this section of the radio.
Most of the SMT components are in the divider and op-amp stages of the build. There are 3 SMT ICs and the rest of the SMT capacitors that go on in this part. With a bit of practice from the first two SMT capacitors, getting the rest of the capacitors on wasn’t too hard (aside from not paying attention to orientation). The SMT ICs and op amp were a little trickier, but still not as bad as I expected.
Except for the inductor and transformer in the band pass filter stage, all the components are on the radio. Will need to study the section on winding toroids first before I try to make them. Then I’ll have to switch out the jumper pins for a more permanent power connection and then make up the computer and antenna connections.
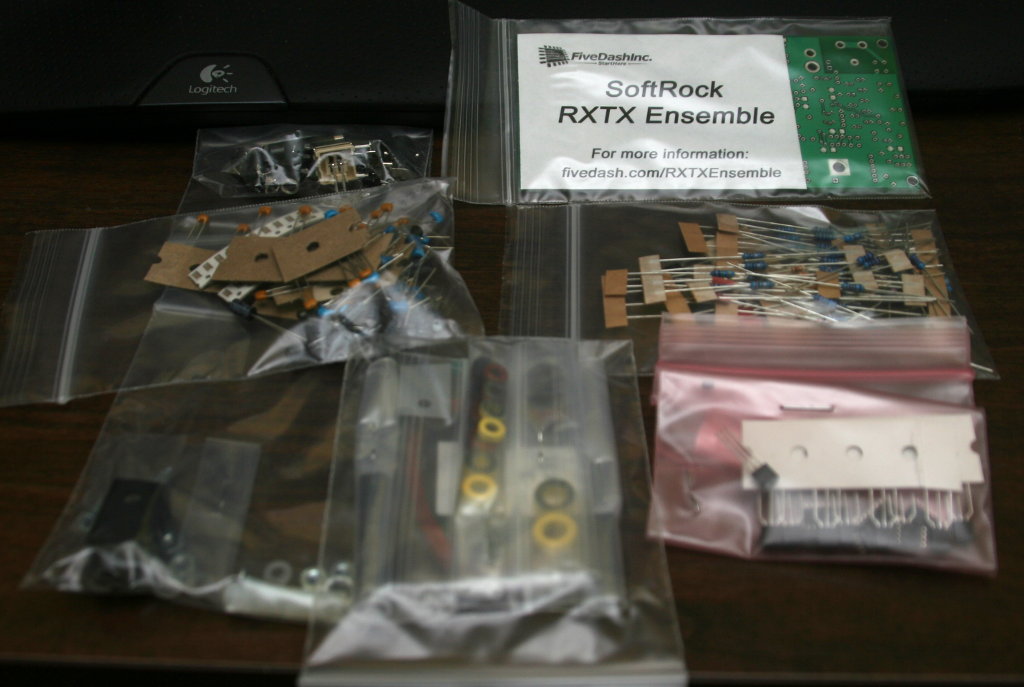
It will be a little while before I’m ready to tackle either of them. The receiver kit looks like it will be the easiest to start with. There are a few SMT components to put on, but not as many as the RXTX kit.