Nexus 5 X-ray

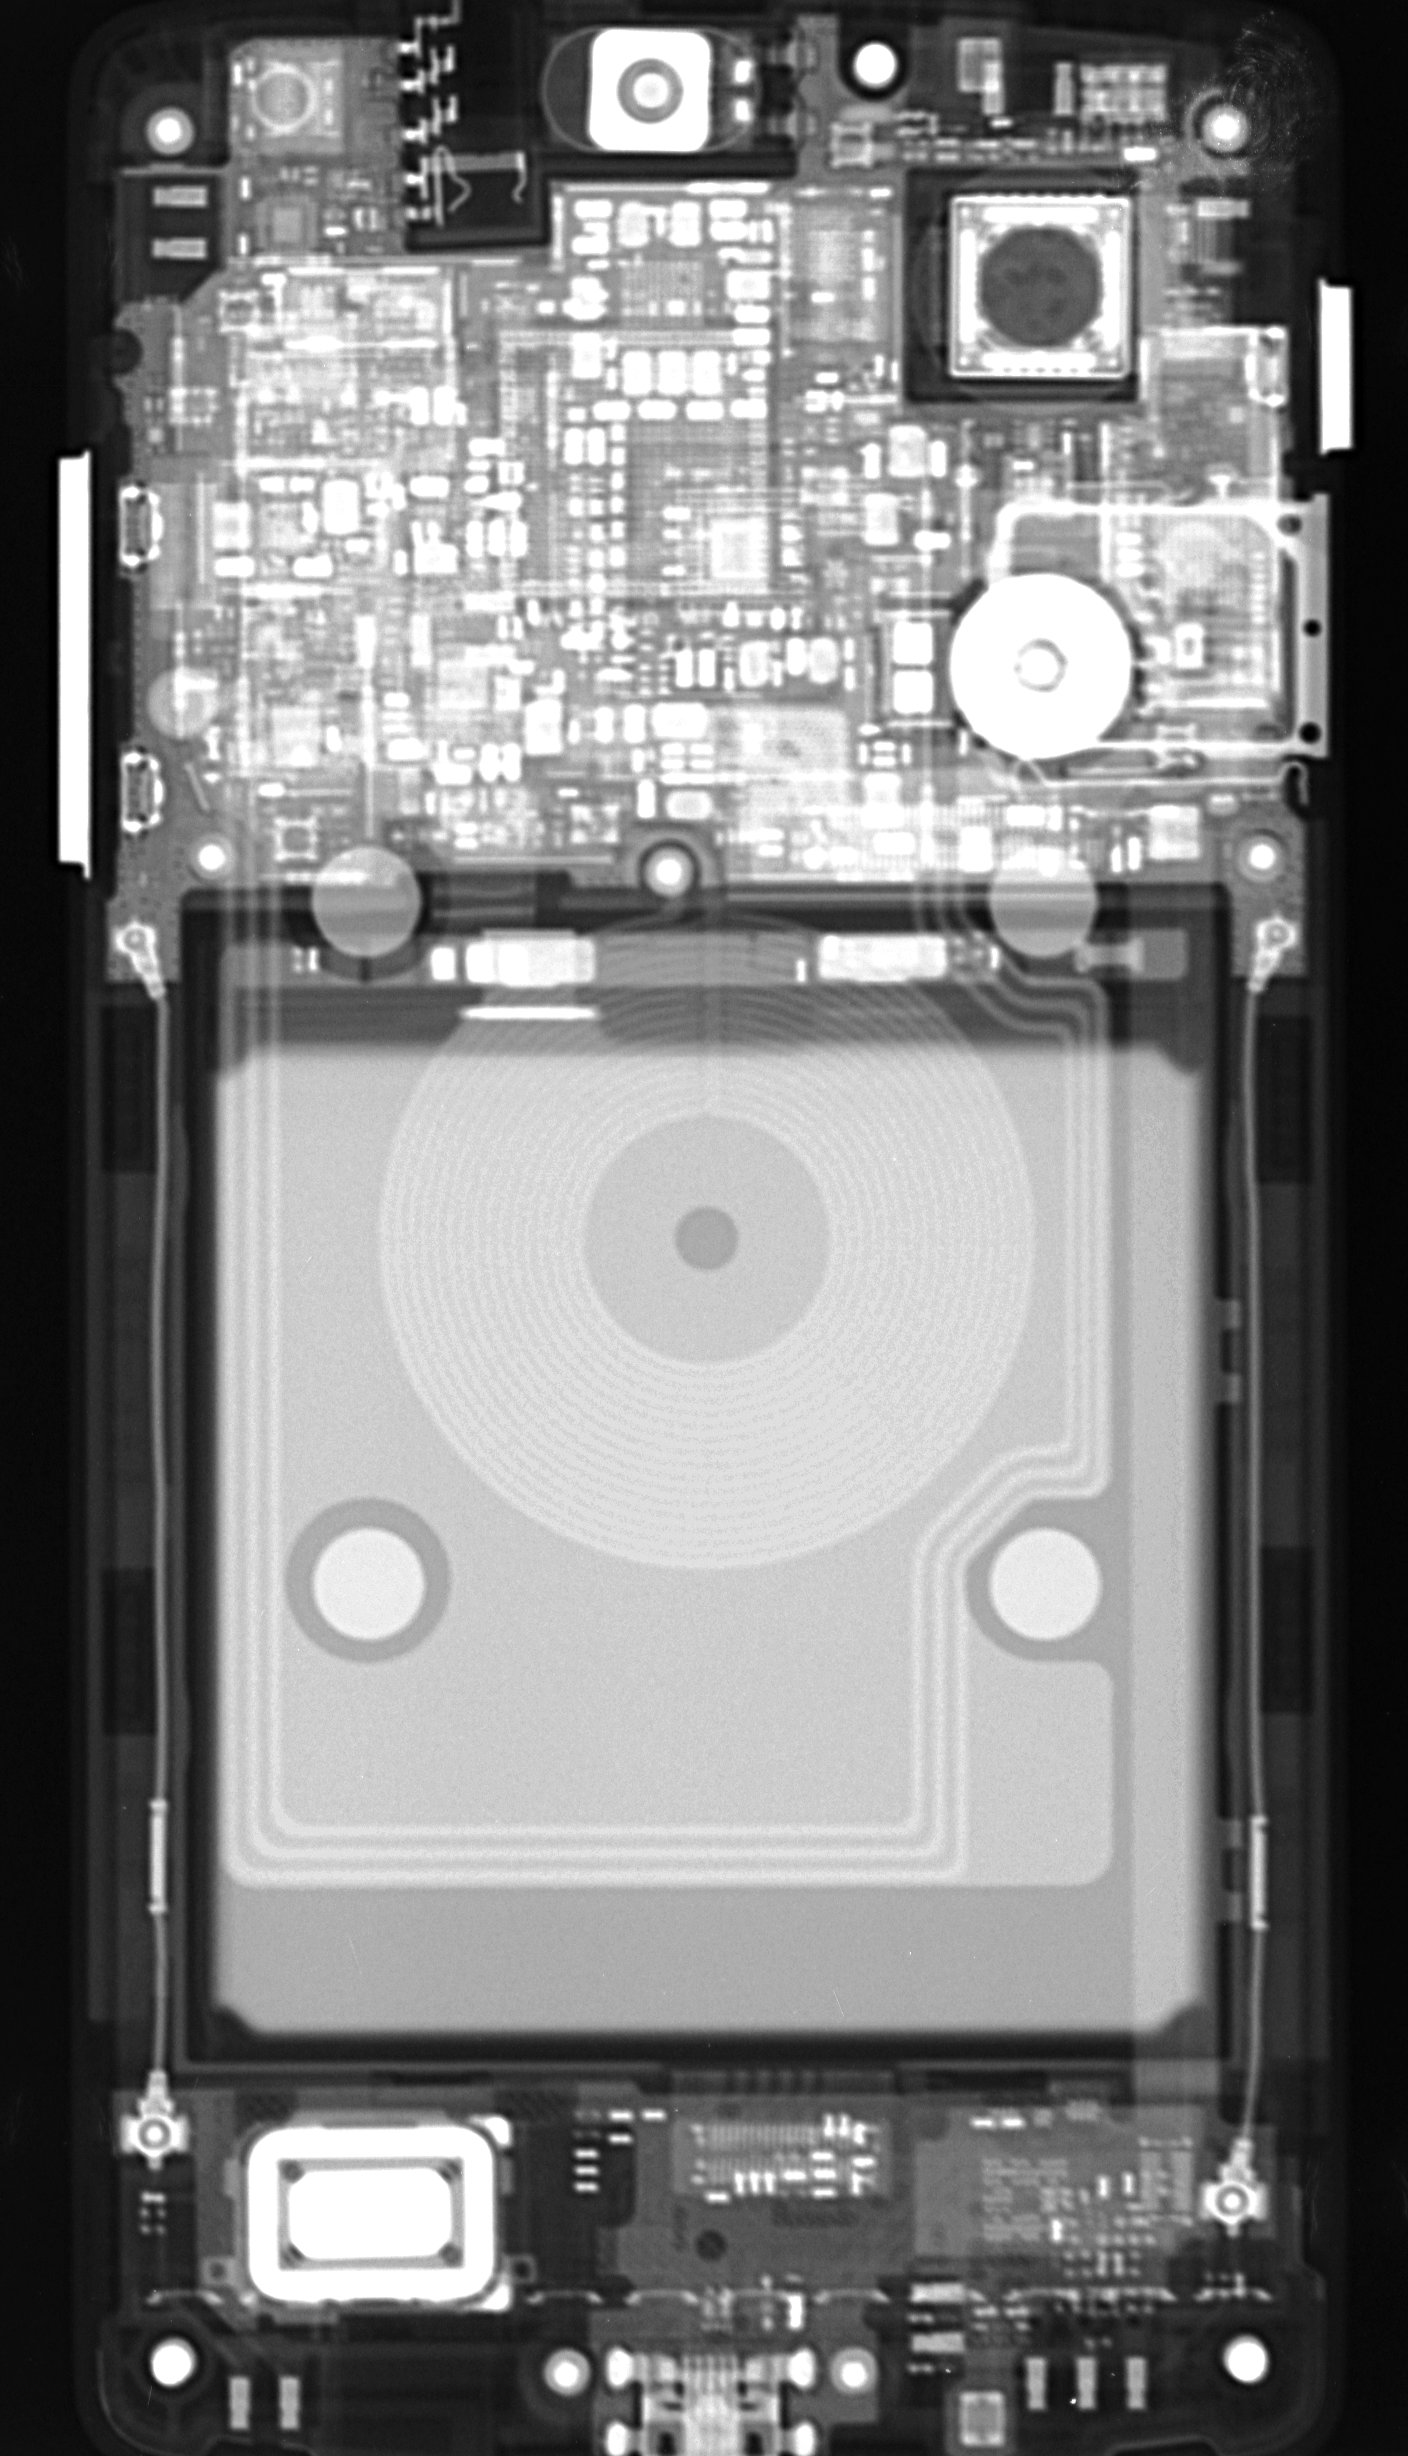
Continuing the tradition of making radiographs of my electronic things, I got a radiograph of my new Nexus 5, the DDS modules and the Arduino Pro Mini.

The Nexus 5. The battery takes up a good bit of the space inside. The square object to the right of center near the top is the camera module. The SIM card tray is easily visible below that. The boards look pretty crowded (click for the jumbo sized image).

Nexus 5 x-ray
Nexus 5 x-ray

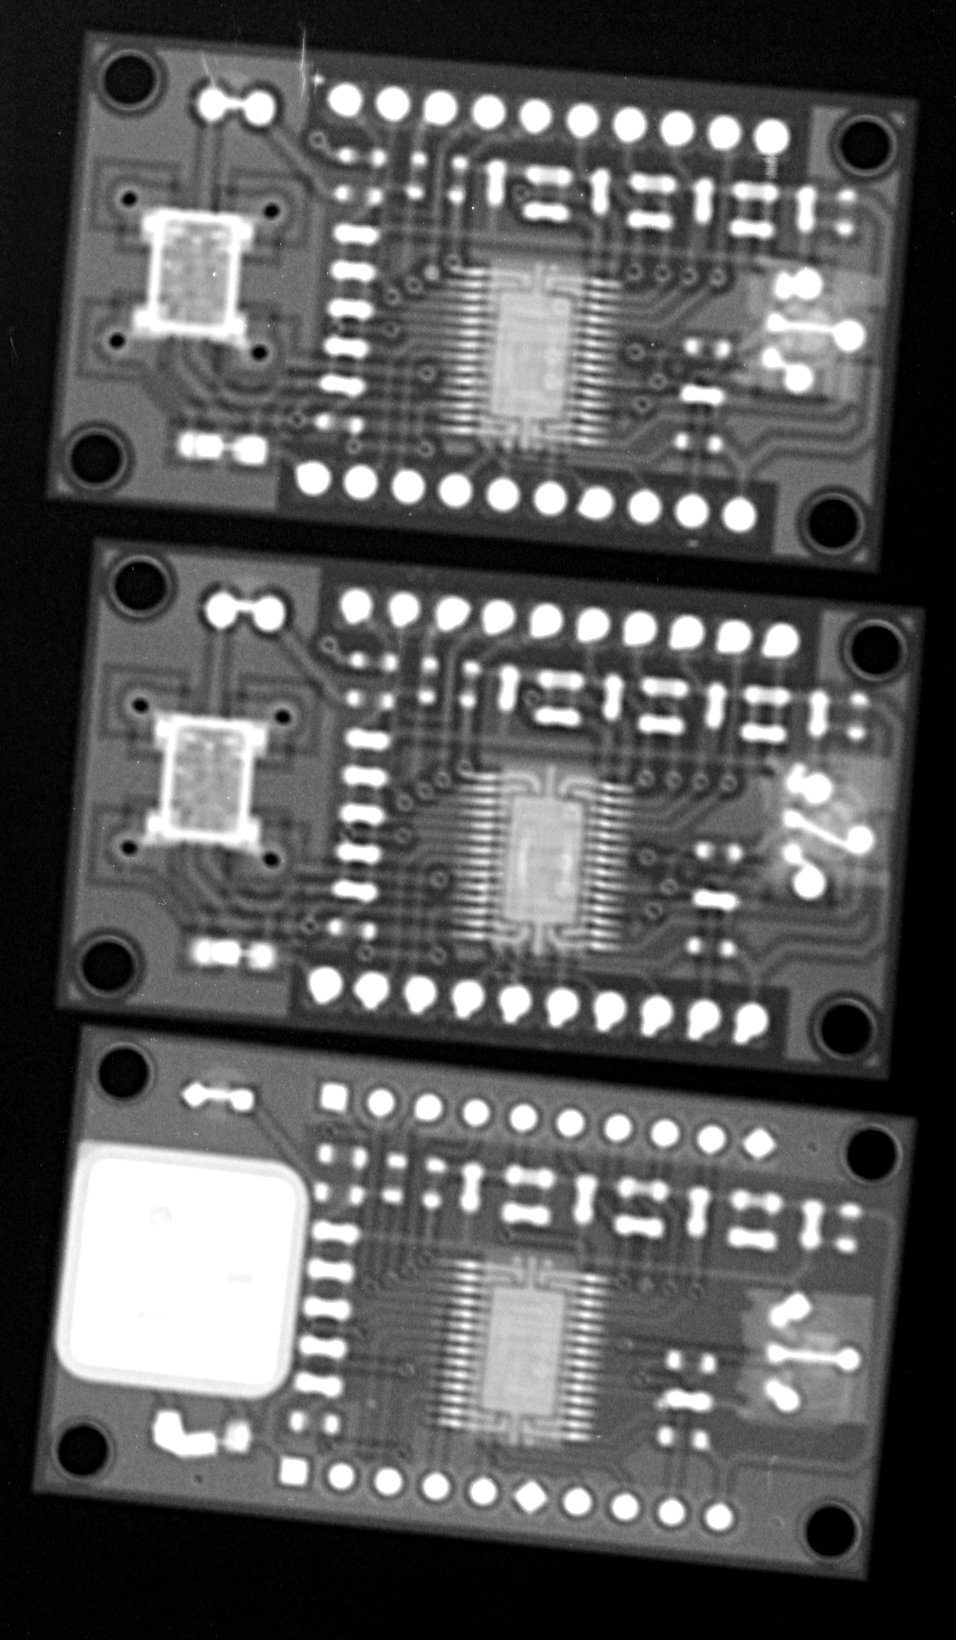
The AD9850 modules. Not a whole lot to them. The crystal in each module is easily visible as the rectangular object on the left. The AD9850 chip is in the middle.

AD9850 modules
AD9850 modules

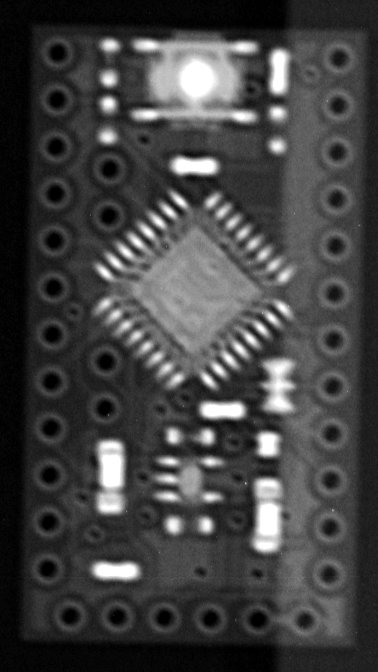
Sparkfun Arduino Pro Mini. Not a whole lot to this either. There’s the AT Mega 328P chip in the middle, and at the top is the reset button.

Sparkfun Arduino Pro Mini x-ray

All images were acquired using an 8″x10″ cassette. X-ray technique was 80 kVp, 5 mAs with the small focal spot (0.6 mm). Source to image distance (SID) was 172 cm, and the object to image distance (OID) was about 100 cm giving a magnification factor of about 1.7. This results in some magnification blur, but at this magnification, the Nexus 5 takes up pretty much all of the cassette.
Yaesu VX-8DR X-ray Take 2

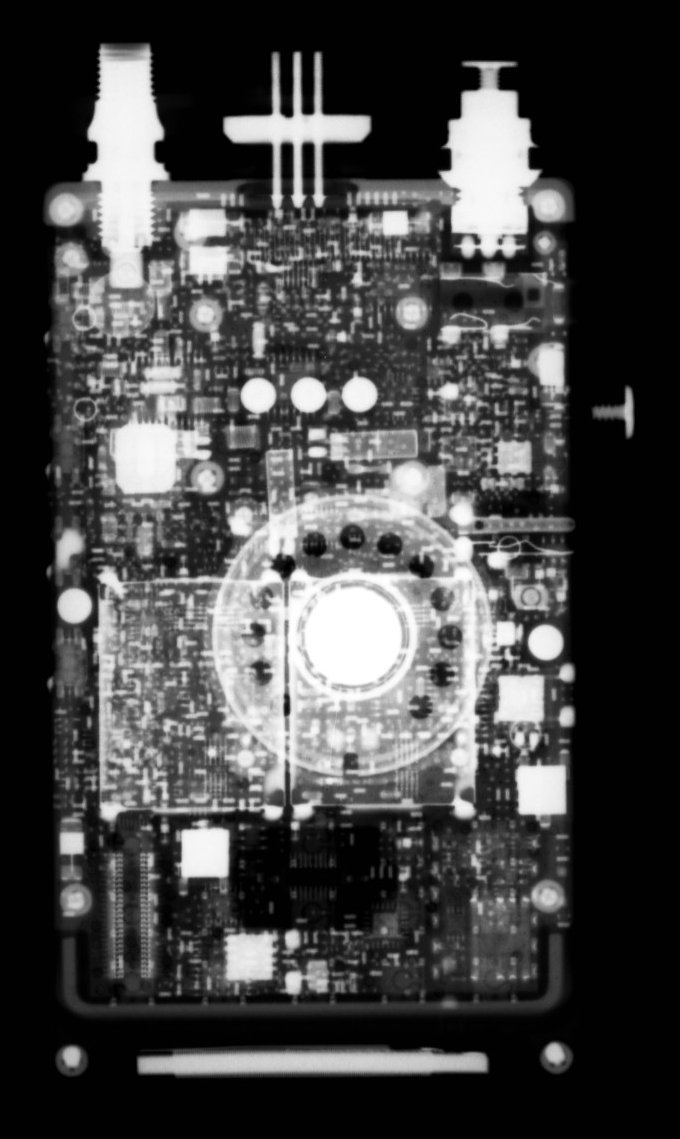
Radiographs of my VX-8DR that show the innards a little better. 81 kV, 5 mAs, small focal spot.

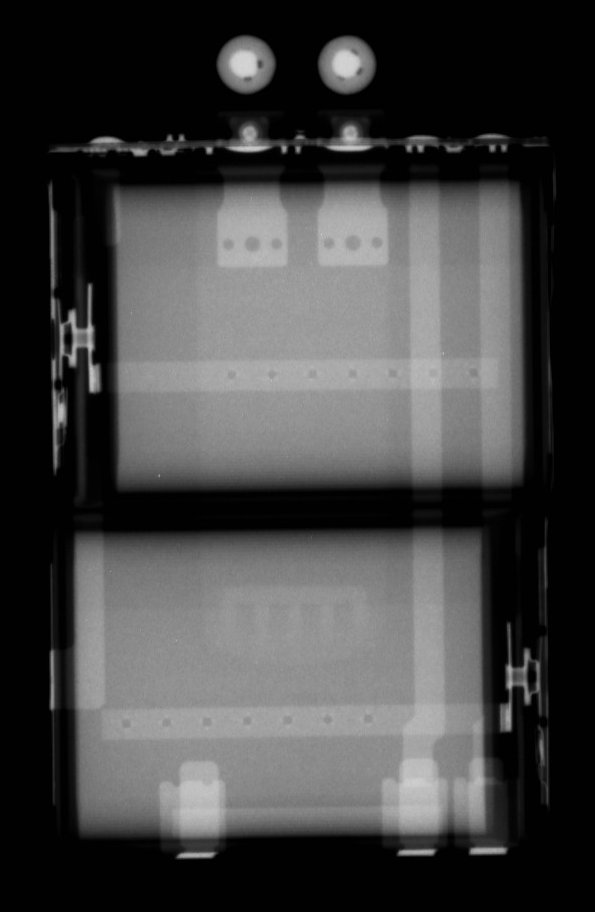
The battery (which is actually two batteries)

Yaesu VX-8DR battery

The radio itself

The antenna. If you look closely, you can see some internal structure now, compared to the fluoro image from earlier.

Yaesu VX-8DR X-ray

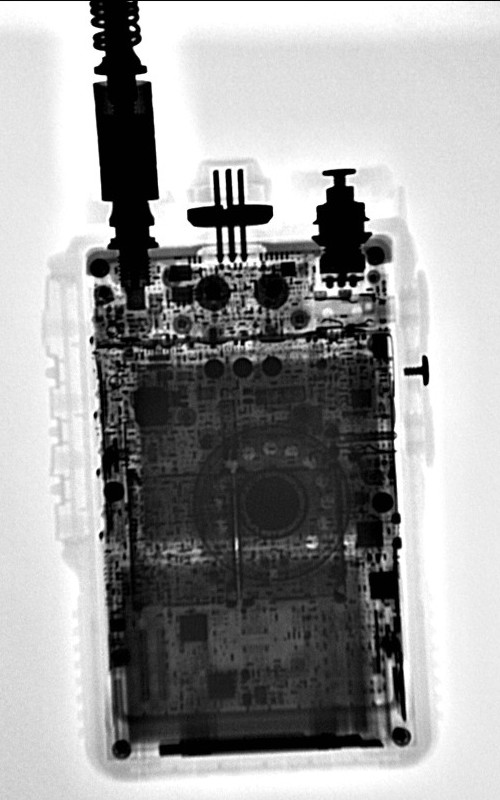
Put my VX-8DR under a fluoro unit I was testing today. Fluoro generally doesn’t provide the greatest resolution images, but enough to see what the innards of my radio are like. Will get a regular radiograph later.

Fluoroscopy image of a Yaesu VX-8DR

This is the antenna. Not a whole lot going on aside from a lot of metal.

Yaesu VX-8DR antenna

Transformer Prime X-ray

Transformer Prime X-ray

You knew this was coming. Orientation of the x-ray is as if you were holding it landscape looking at the screen. Click the image to embiggenate.

Easily visible is the battery in the center (which actually appears to be two batteries) and several main boards. The pair of oval things on the right are the speakers. At the top the cameras and flash LED are visible. The board between the batteries I’m guessing is the charging circuitry for the batteries. On the left side are the microSD slot, HDMI port and the volume buttons. Above the left battery, the big square thing is probably the Tegra 3 chip.
Compare the x-ray to the tear down pictures over at AnandTech.