You know what they say about idle hands…
Spent part of yesterday indulging my curiosity about the anatomy of hard drives with a couple of old hard drives sitting around being paper weights.
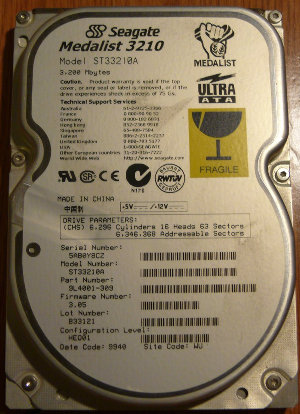
The first victimdrive to be disassembled was this old 3 GB Seagate Medalist (late 90s vintage).
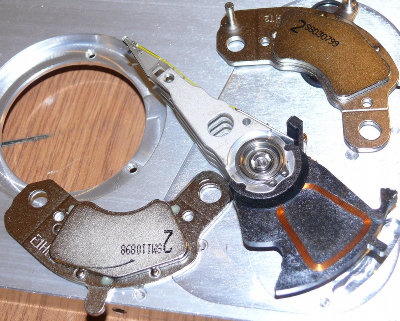
This is what you see when the top cover is removed. I was a little surprised to see that the drive was only a single platter.
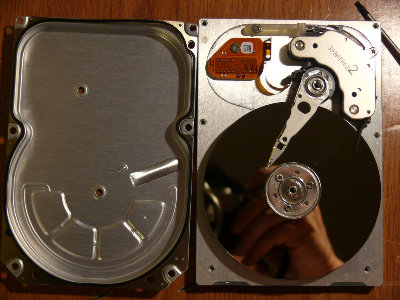
Older hard drives had what was known as a landing zone, an area of the drive platter without any data where the heads were moved to when the drive wasn’t in operation. If the arm came loose during transport or impact, any damage to the platter would occur here and not on the data portion of the platter. On this particular drive, the landing zone is the inner portion of the platter.
The dark rectangular block in the middle is the lower read/write head. Looks like there are two, but the other one is just the reflection off the platter.
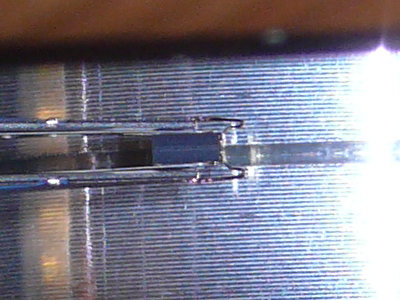
At first I couldn’t figure out what the purpose of this black arm was, but then I figured out that it keeps the drive arm in the parked position over the landing zone. Air currents created by the spinning platter push the black arm out of the way so that the drive arm can move around. The white blob is some kind of filter. Clever.

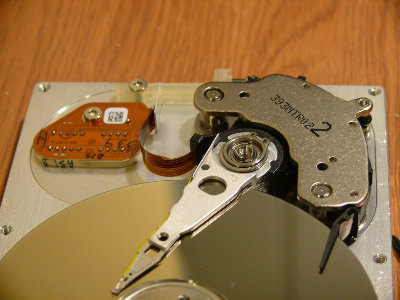
This is a small magnetic clip that also helps to hold the drive arm in its parked position.

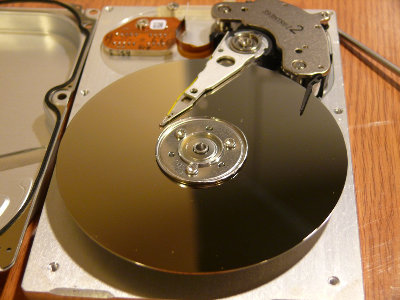
The hard drive motor and a view of the read/write head.
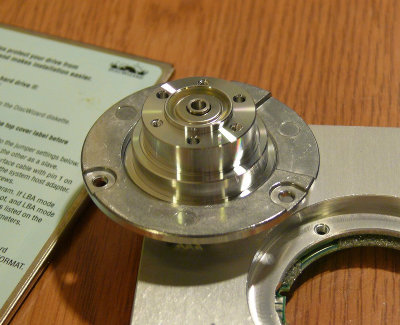
The drive platters are polished very smooth. Since the drive heads only float a few microns above the surface of the platter, a very smooth surface is essential.

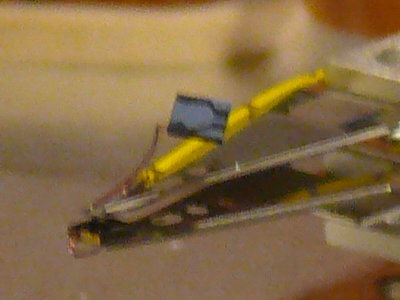
All that’s left is the drive arm and voice coil mechanism. The drive arm contains a copper coil positioned between two very very strong magnets (many geeks will harvest old drives to get at these magnets). Changing the current flowing through the coil creates a magnetic field that interacts with the magnetic field of the magnets and causes the arm to move. The top plate is held on magnetically, so removing it is simply a matter of prying it off.
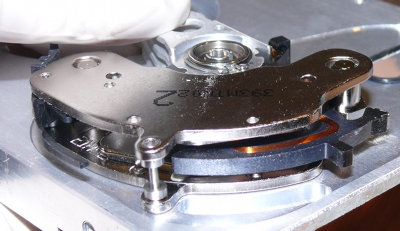
This is the disassembled drive arm mechanism. You can see the two magnets (the parts that have the writing on them), which are glued to the top and bottom plates, and the copper coil at the end of the drive arm.
Coming up in Part 2: The innards of a 20 GB IBM DeathstarDeskstar
Discover more from Imablog
Subscribe to get the latest posts sent to your email.