Power supply!

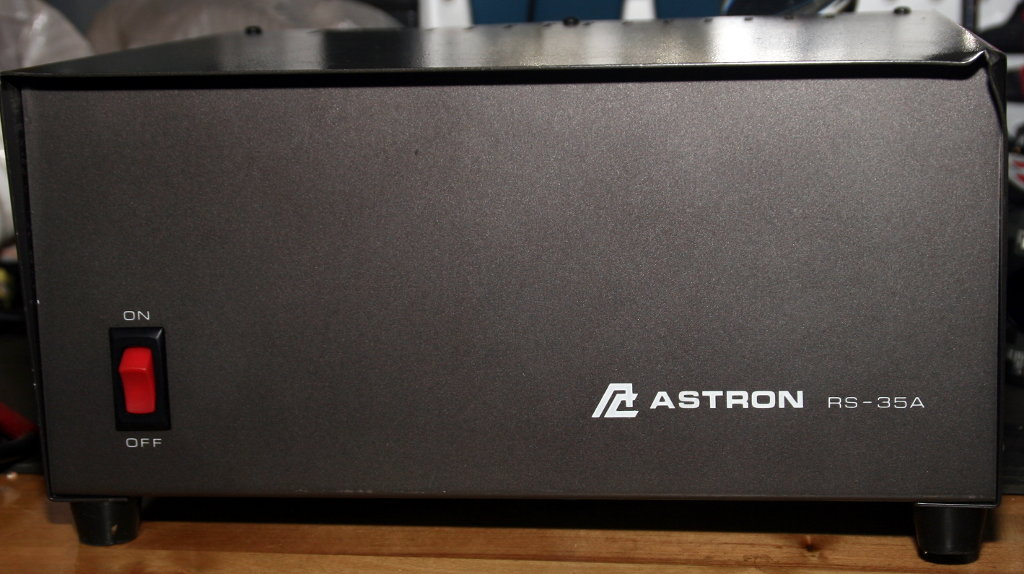
An Astron RS-35A power supply is my latest acquisition. Saw it on ebay for a pretty decent price, and after a few days of watching it, I thought I’d put a bid on it fully expecting someone to come in at the last minute and snipe me.

Well, that didn’t happen so now I have a big beast of a linear power supply that puts out 13.7V and peak current of 35A (“25A continuous”) for less than half of what one costs new. My original plan was to use it for what ever radio I ended up buying, but we’ll be putting Connie’s radio and its power supply into the office/ham shack so this one will probably sit out on the workbench and supply power to my other projects, maybe a second radio if we end up getting one.

Astron RS-35A power supply

Except for a dinged up corner and a broken foot (probably during transport) it’s physically in good shape. After plugging the unit in, flipping the power switch brings the beast to life with an intimidating but satisfying “chunk” from the transformer and the hum of electricity.

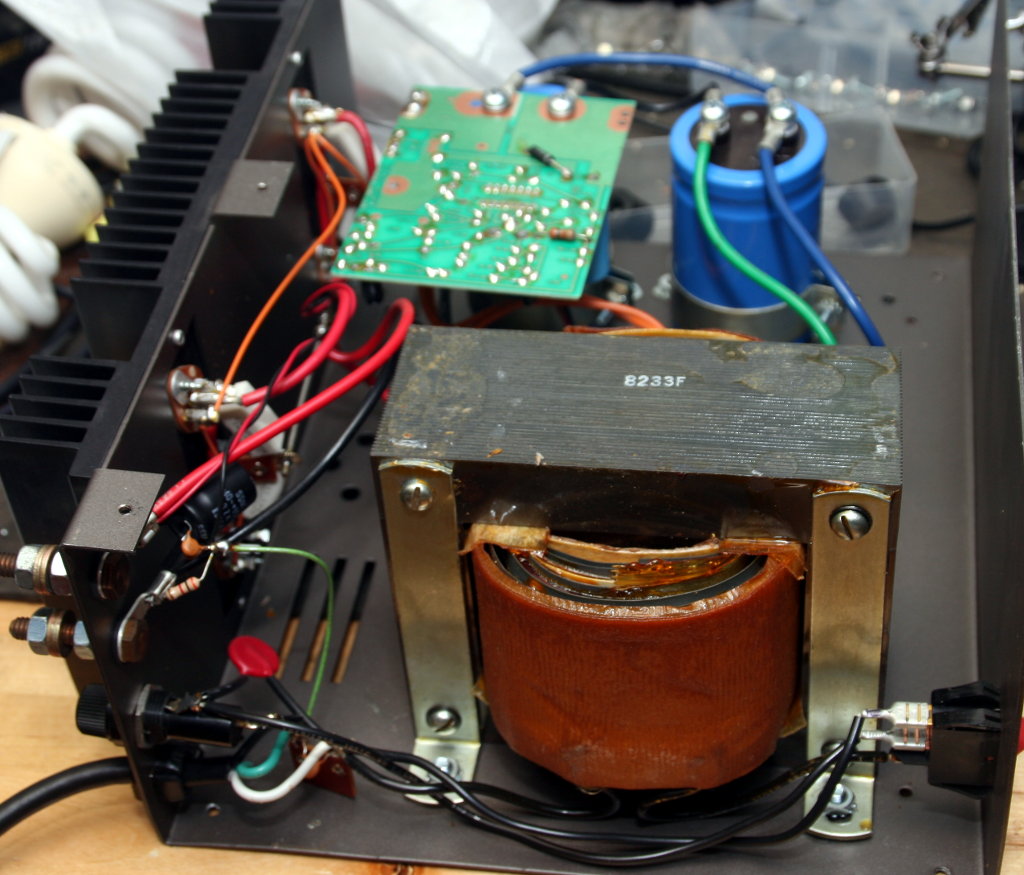
Large transformer inside the Asstron power supply
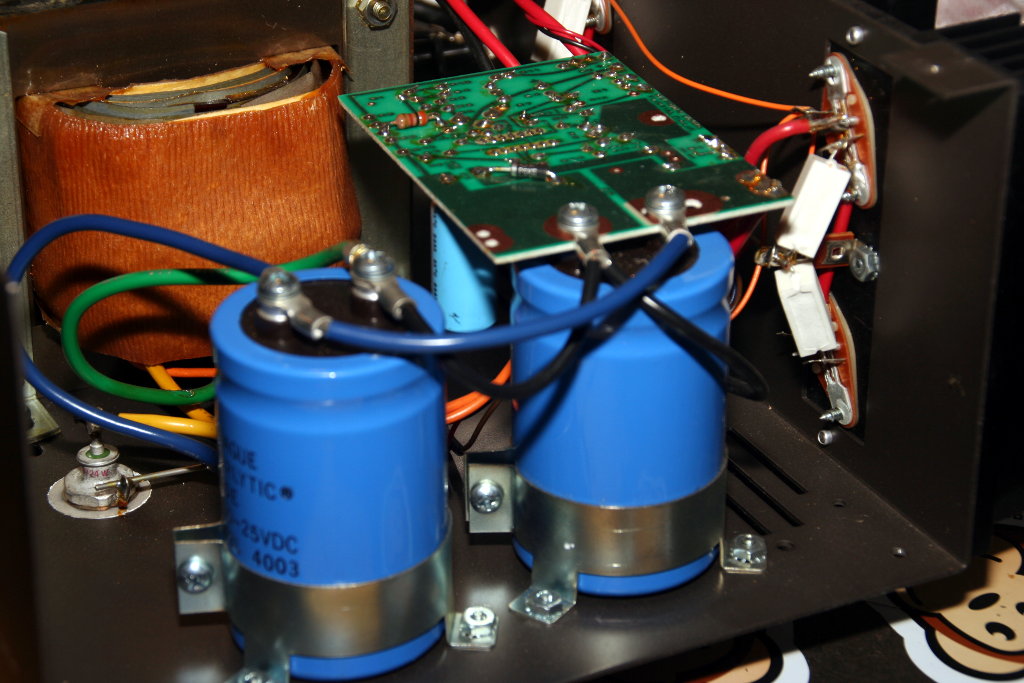
Large blue filter capacitors in the Astron power supply

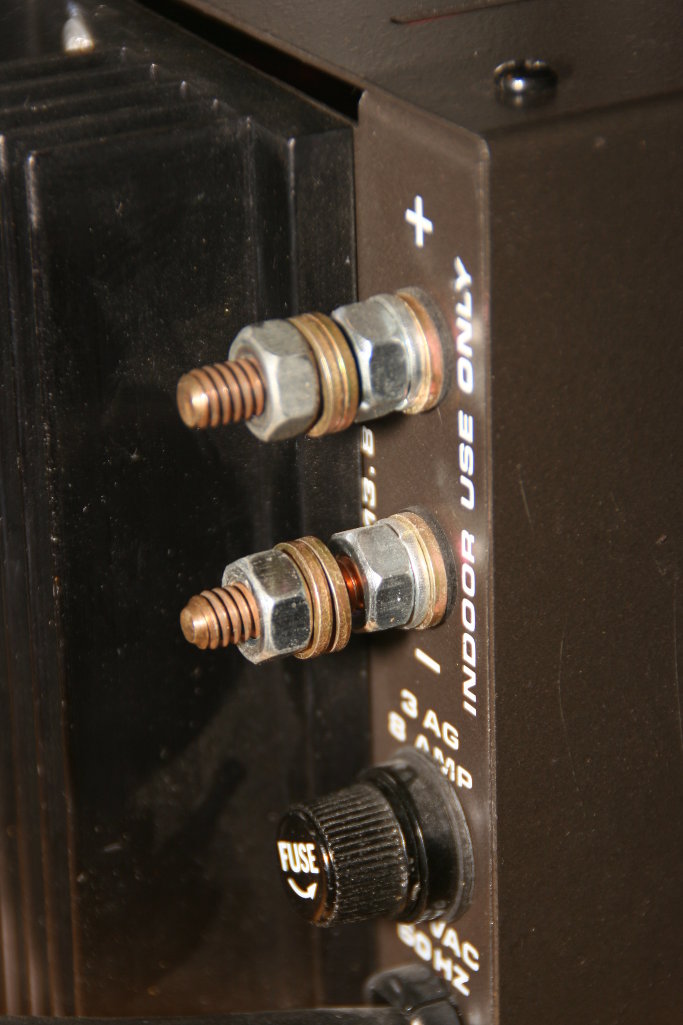
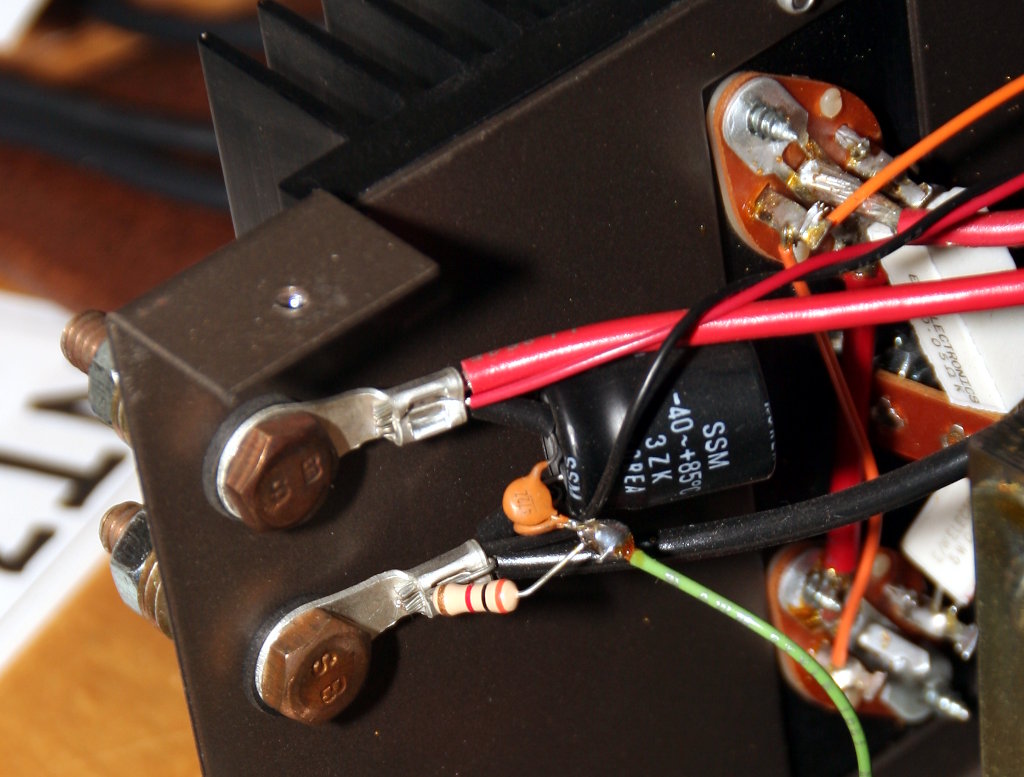
The power terminals are these bare exposed bolts with nuts to hold any wires on. I don’t really like the thought of exposed power terminals, so I think I’ll look into replacing them with some Anderson power poles.

Output terminals on the Astron power supply
Power output terminals on the Astron power supply seen from the inside of the power supply

Oscilloscope connector

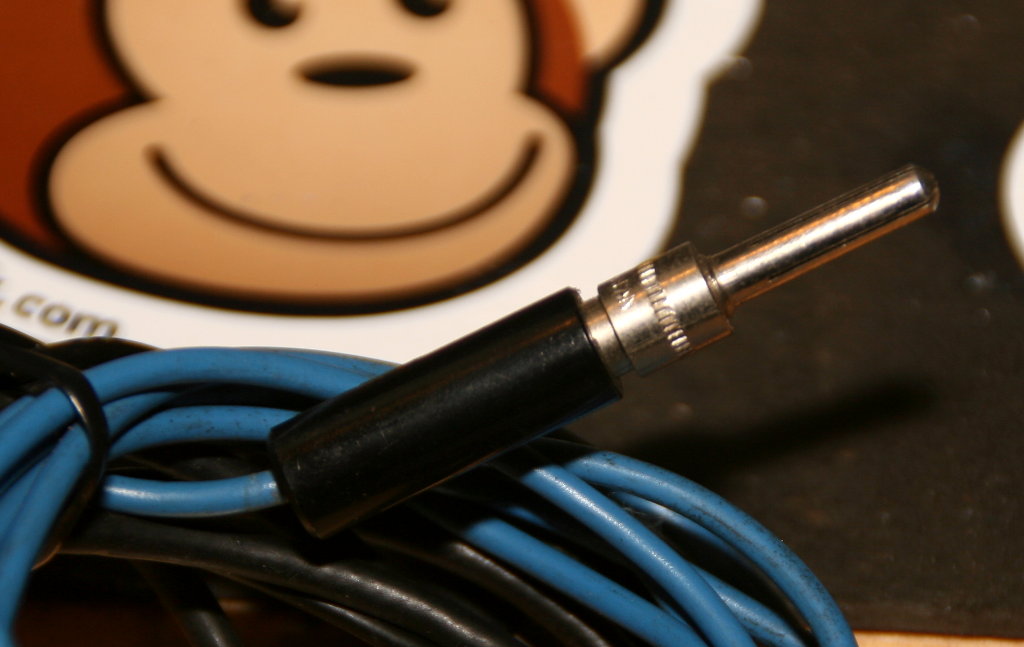
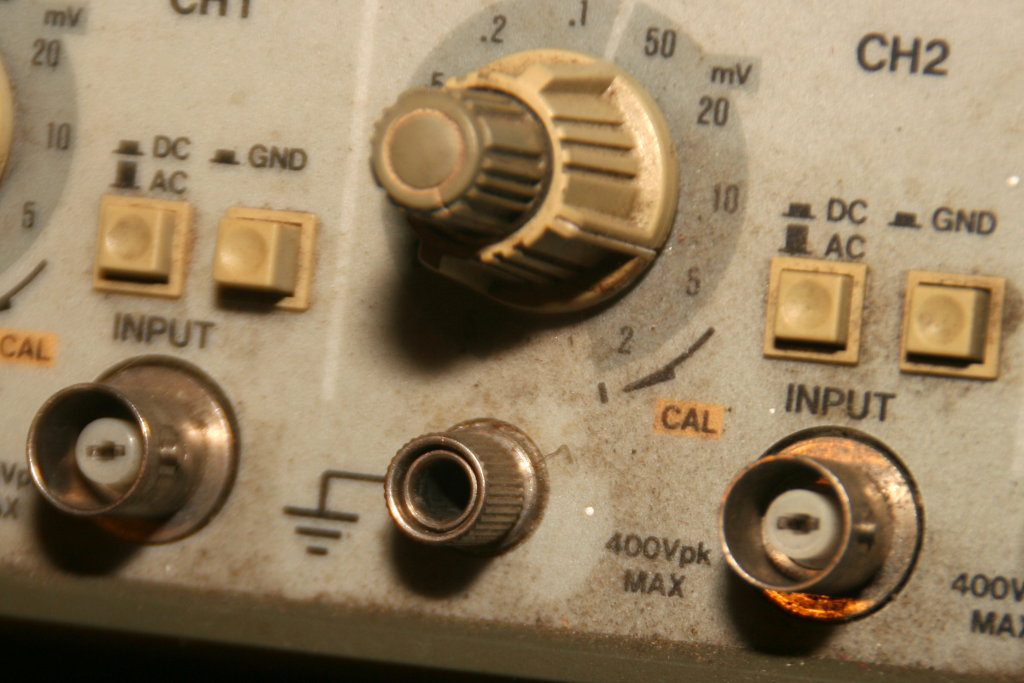
The inputs for the oscilloscope are regular BNC connectors, but the ground connector is one I’m not familiar with. It looks kind of banana plug-ish, but longer than what I’d normally expect for a banana plug.

Long phono-style plug

Here’s the ground connector on the scope

Ground connector of the oscilloscope

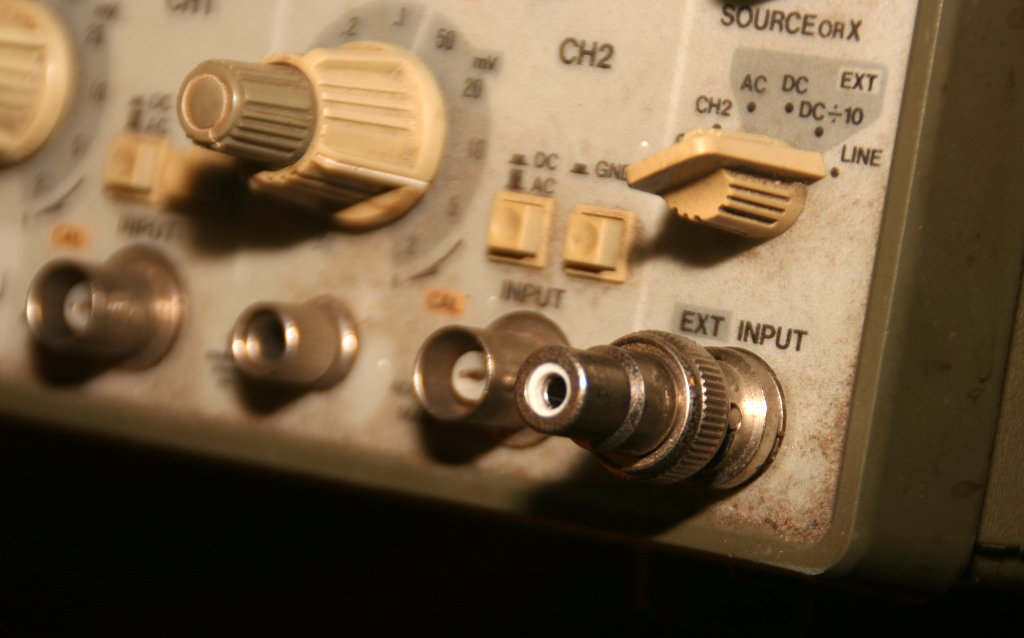
There’s also this BNC adapter for some other kind of plug. Looks kind of like a phono connector.

BNC-phono or RCA adapter plug attached to the external input connector of the oscilloscope

I was able to find a manual and service manual for the scope, which will come in handy.

Next step will be to plug it in and see how things are.

Inside the signal generator

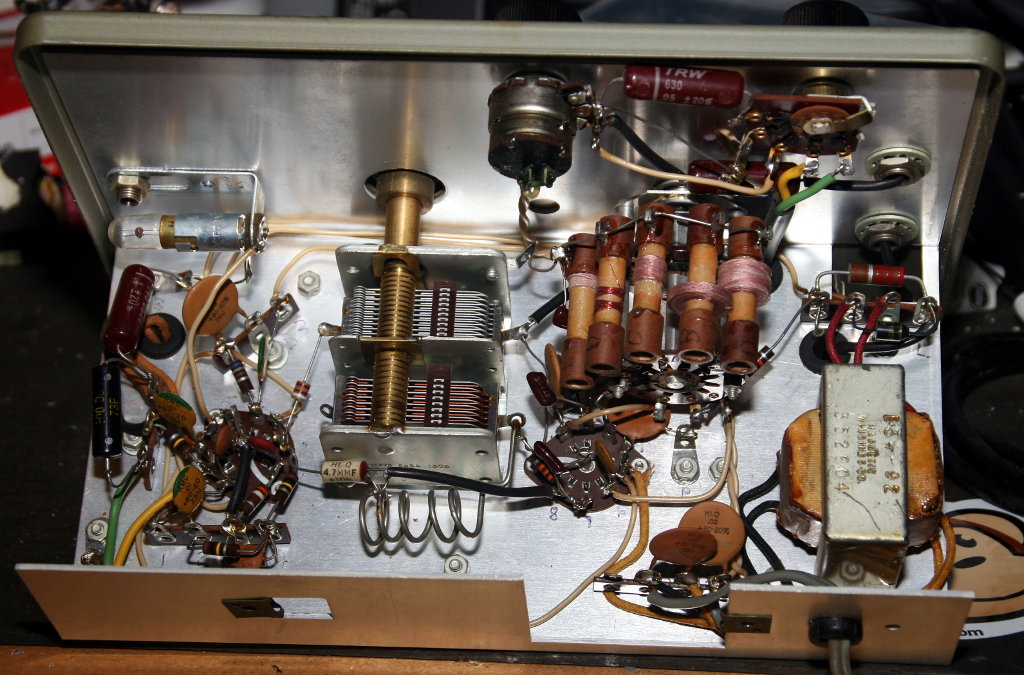
The inside of the signal generator looks in pretty good shape, almost like it was assembled yesterday. Plugged it in, turned it on and was rewarded with a soft orange glow from the two vacuum tubes inside.

Inside the Heathkit IG-102 signal generator

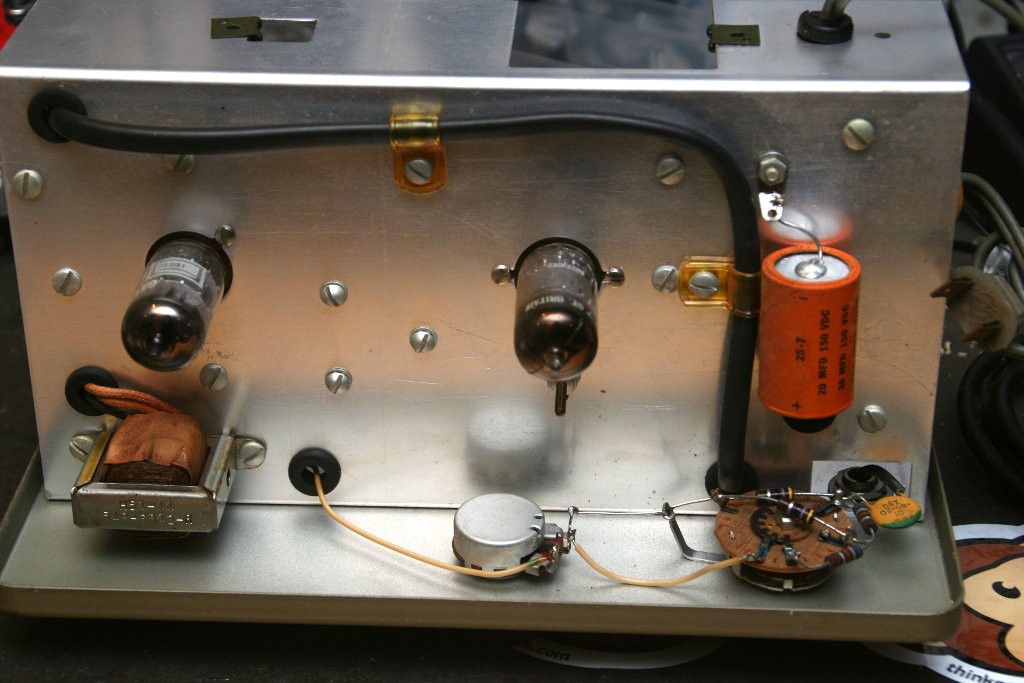
There’s one very large electrolytic cap that’s marked 20 MFD which according to the schematic appears to be a 20 μF cap. It has two positive leads going into it and I’m not entirely sure I’d be able to find an exact replacement for it. Probably need to sub in 2 20 μF caps if it does need to be replaced.

Large orange dual axial 20 microfarad capacitor

The guy at http://www.heathkit.nu/ replaced the two signal outputs on his IG-102 with BNC connectors, which seems like a pretty good idea and something I think I’ll try to do as well. Otherwise I’d probably have a hard time finding leads with the original style connectors to use. I’ll need to find some panel mount BNC connectors (female) and might need to snip/replace some capacitors to replace the old connectors.

An oscilloscope!

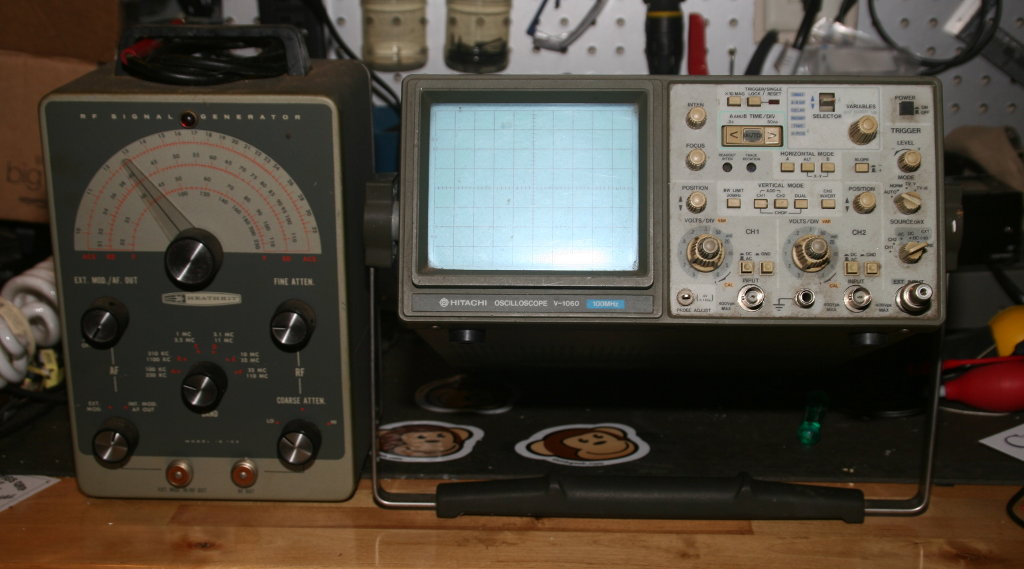
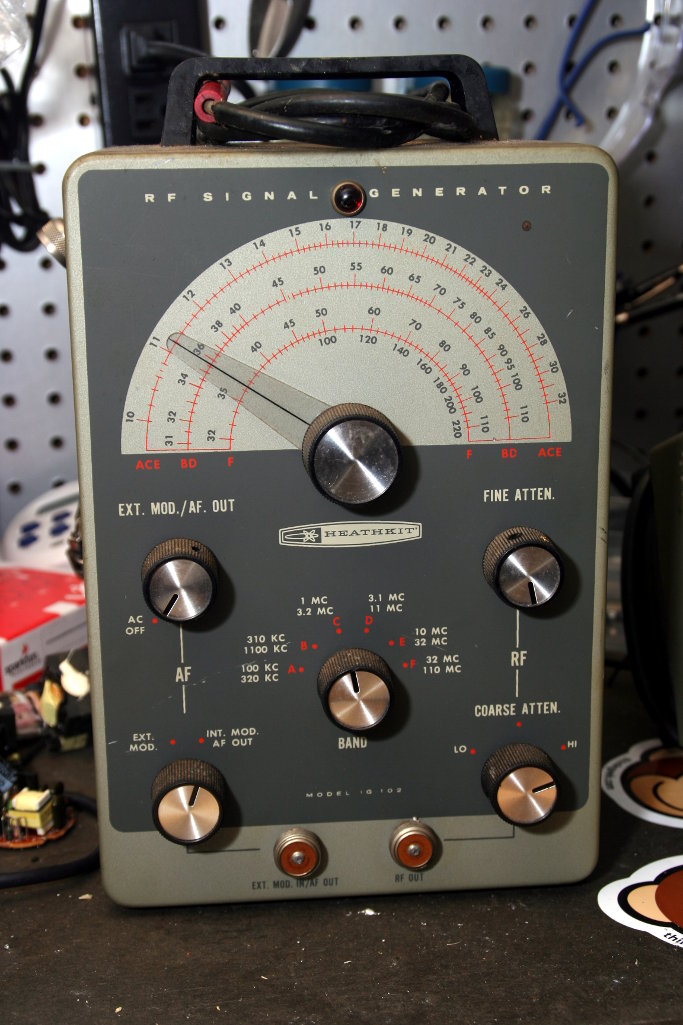
My latest acquisitions: A Hitachi V-1060 oscilloscope and Heathkit IG 102 signal generator (thrown in with the scope).

Heathkit IG-102 signal generator and a Hitachi oscilloscope

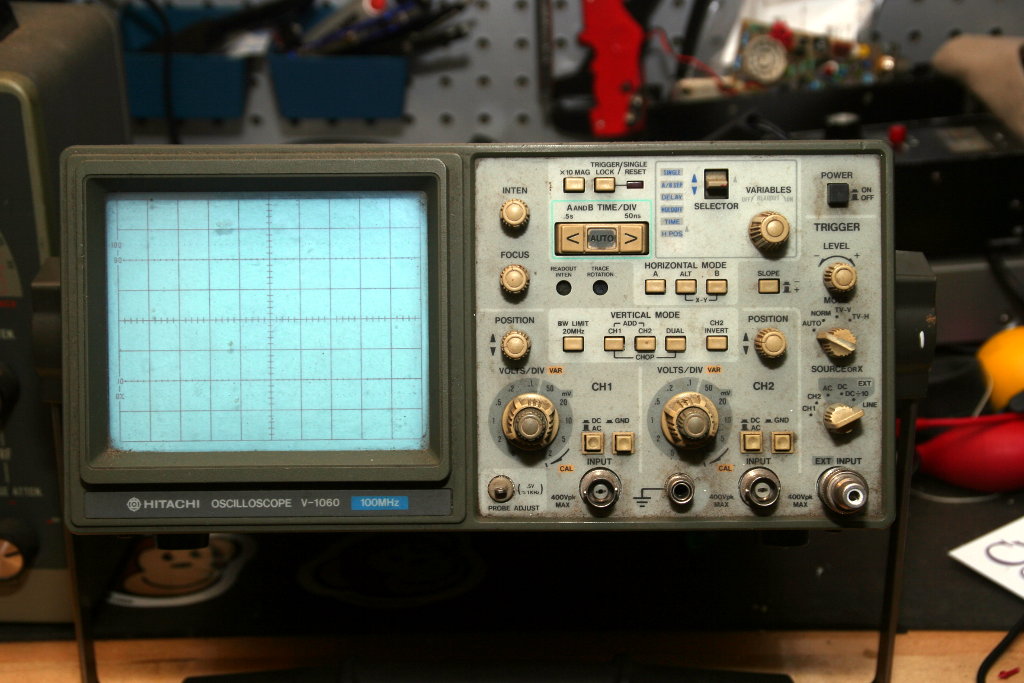
I haven’t had a chance to power up either of them, although I’m told the scope turns on and has a stable trace. Calibration is unknown and could probably use degaussing. Seems to be in pretty decent condition, although some new test leads are in order.

Hitachi V-1060 oscilloscope

The signal generator is more unknown. Outside it looks pretty decent and all the knobs are in decent working order. Probably needs a new lead/probe. It’s pretty lightweight. Will be interesting to see what’s inside before I try to power it up.

Heathkit IG-1022 signal generator

Etherprog!

EtherProg from Jason/NT7S assembled. Didn’t take too long. I think I’m getting better at this. I’ve also figured out how to keep the tip of my soldering iron clean, which, as it turns out, really makes soldering a whole lot easier.

Etherkti Etherprog programmer for ATTiny microcontrollers

Now to figure out what to do with it.

I need to find conical tips for my soldering iron or else get another one with easier to find tips. The new tips I ordered for my Radio Shack soldering iron are all chisel tip, which will probably be too big for SMT work.