Inside a DSL line filter

Found a DSL phone line filter from the Earthlink DSL days in one of my junk boxes. This particular one is an Excelsus Z-BLocker DSL filter Model Z-230PJ. The www.excelsus-tech.com website printed on the back is dead, but a bit of Googling brought me to Pulse Electronics, so maybe there was a name change or some merger-ing happening.

DSL line filter
DSL line filter

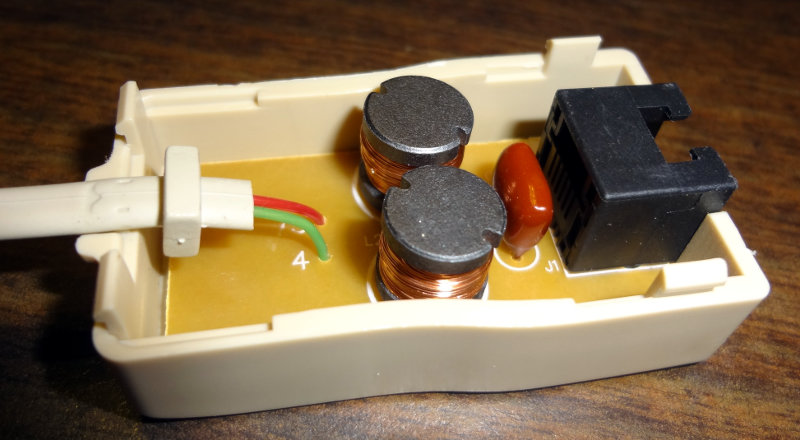
Since I’m not likely to be going back to DSL service any time soon, I figured I’d have a look to see what’s inside. DissectionDisassembly was pretty easy. The top is just held in by clips and not glued, so a little bit of prying with a thin bladed screwdriver and it pops right off. There’s not a whole lot to see inside: a couple of inductors and a capacitor soldered onto a circuit board.

DSL line filter innards
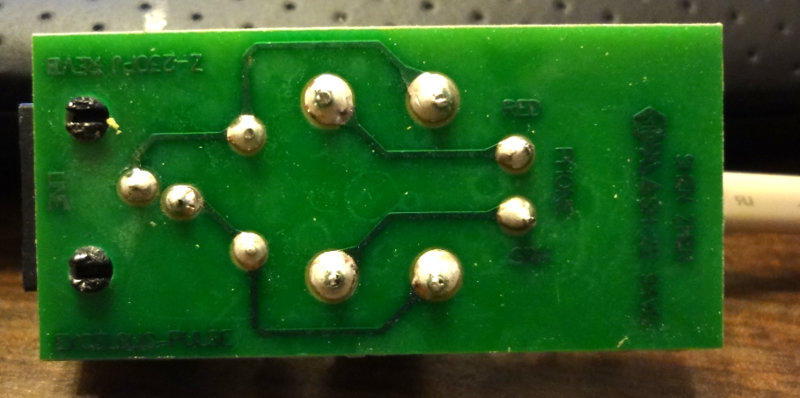
DSL line filter circuit board

It’s a pretty simple device, just an inductor on each line with a capacitor in parallel (I think that makes it a low pass filter on each line).

DSL line filter schematic

The inductors aren’t labeled on top, so I don’t know what value they are. If I’m reading the code correctly, the capacitor is 22 μF.

I wonder what kind of project I can come up with to make use of this…

Charleston Worldwide Photowalk

Another Scott Kelby Worldwide Photowalk is coming up soon. This year it will be October 11 and one is already set up for downtown Charleston. I’ve participated in a few previous photo walks and they’ve always been fun events. It’s a chance to meet and hang out with some fellow photographers, explore the city and get some great shots.

Previous years have seen other photowalks in North Charleston and Summerville, so if you aren’t able to make it to the Charleston photowalk, try to organize one near you.

Go sign up for a photowalk near you! You won’t regret it.

Nexus 5 X-ray

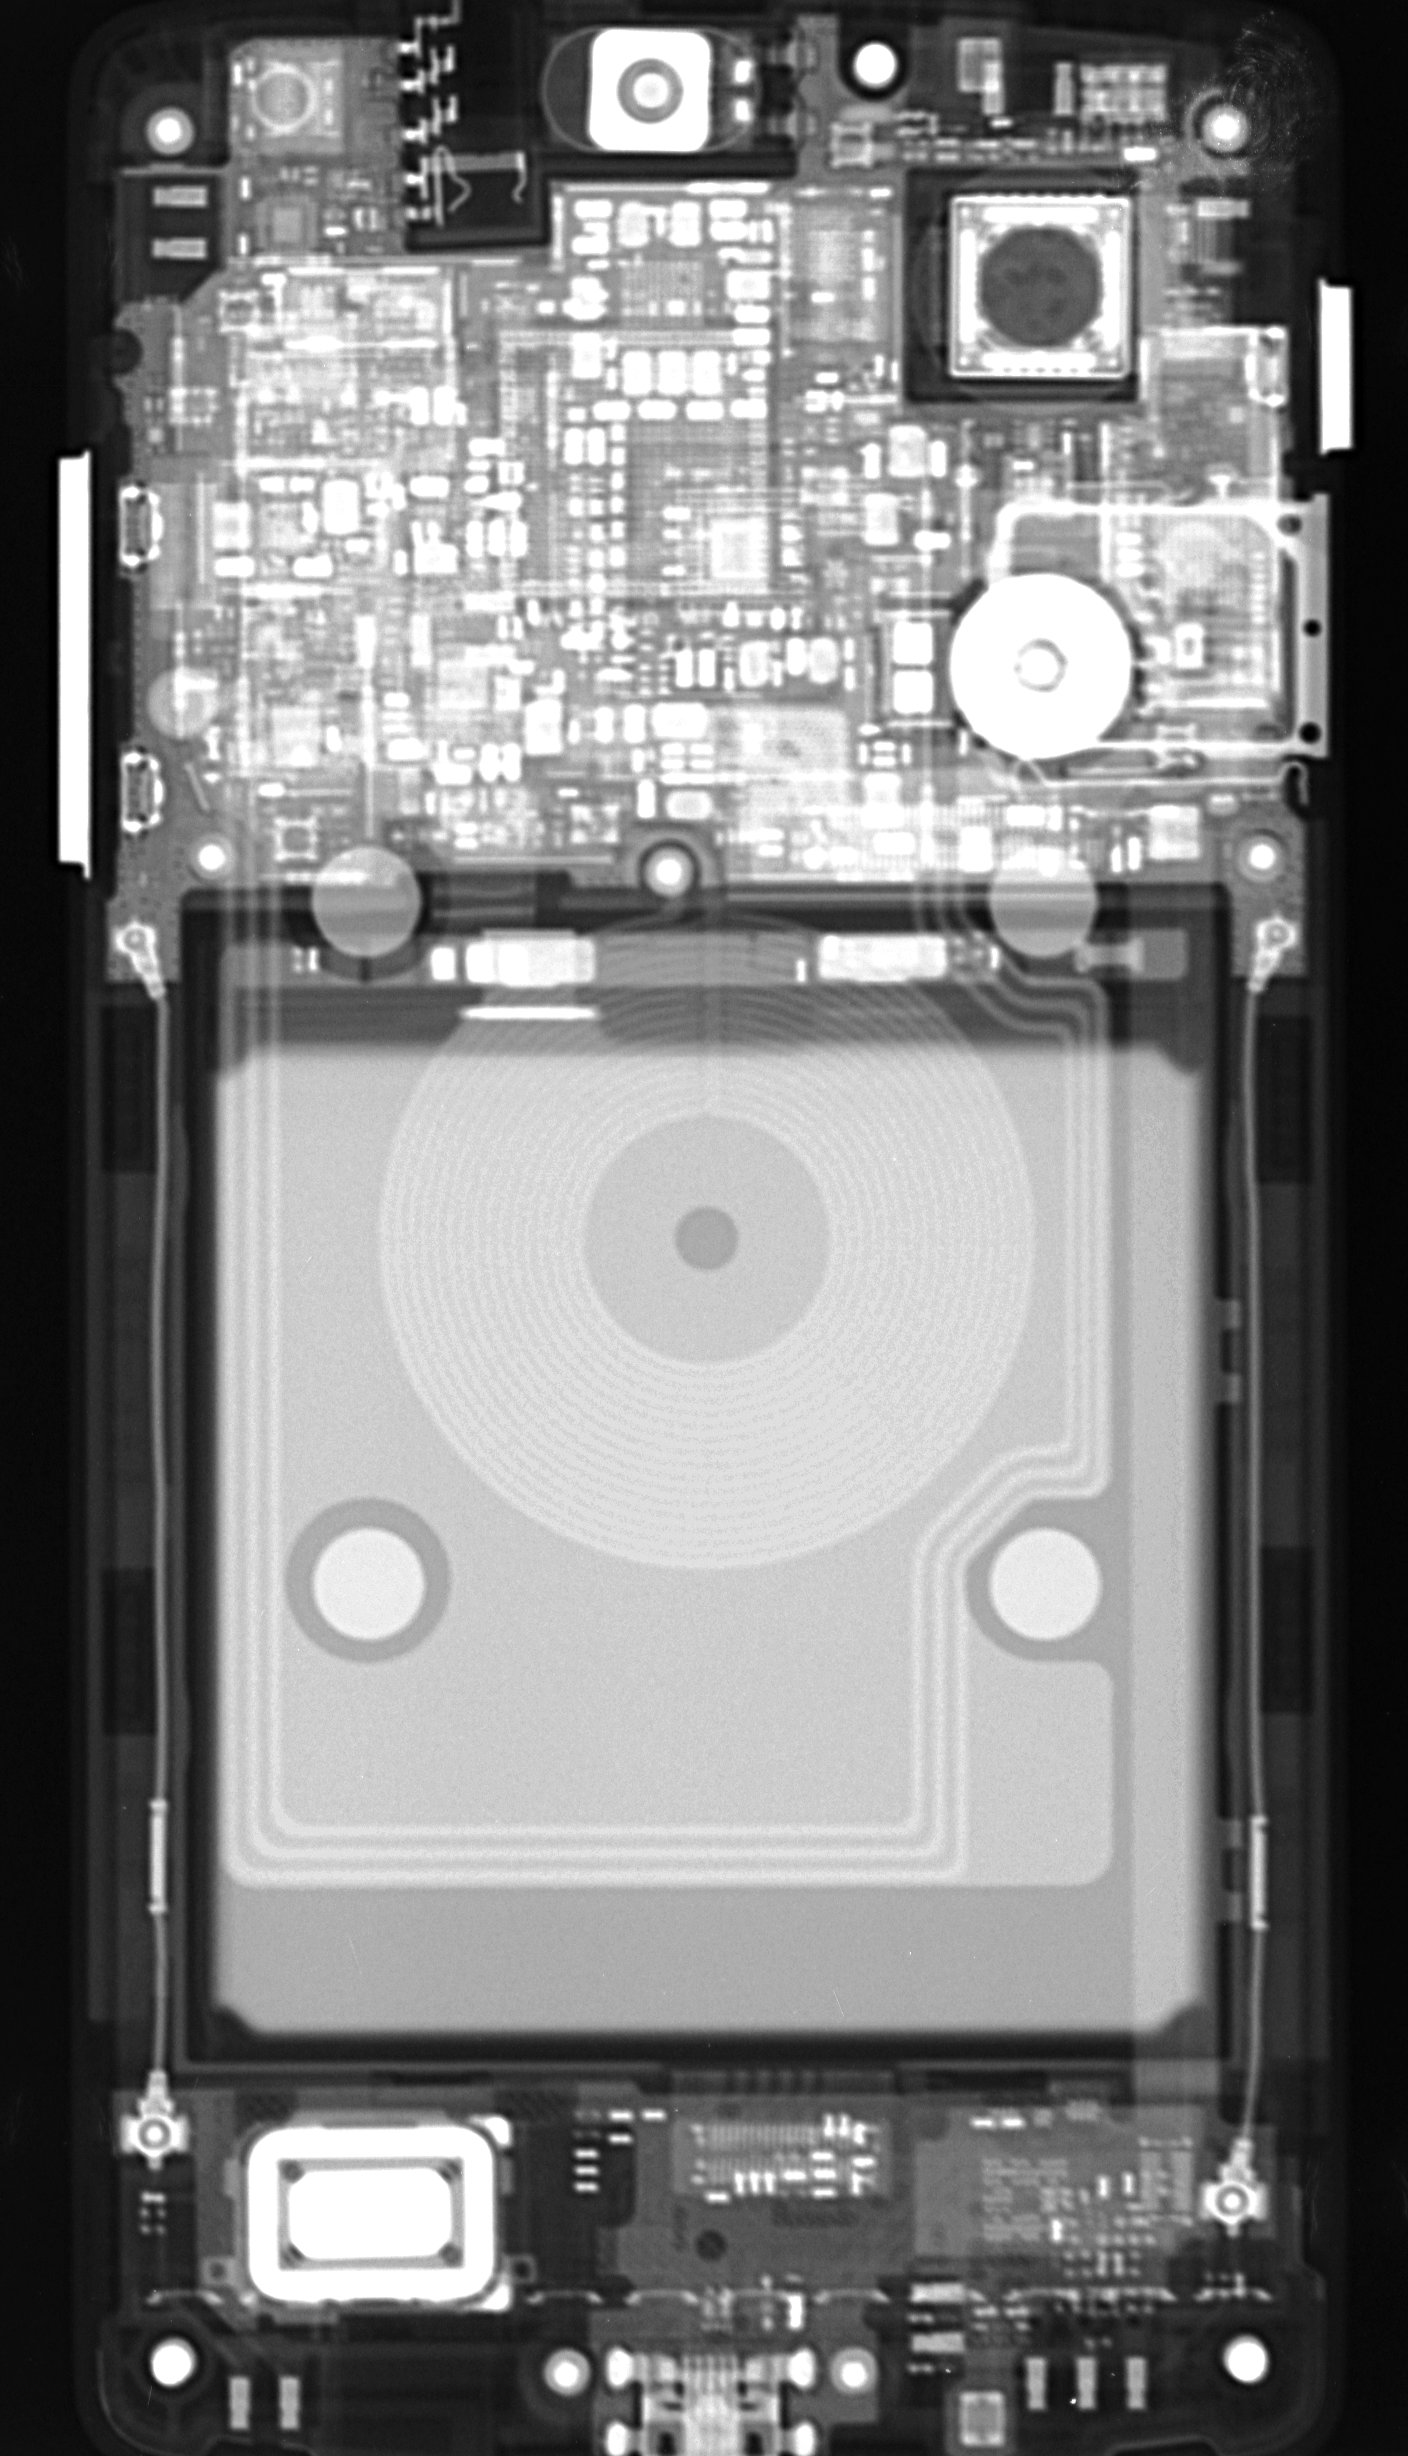
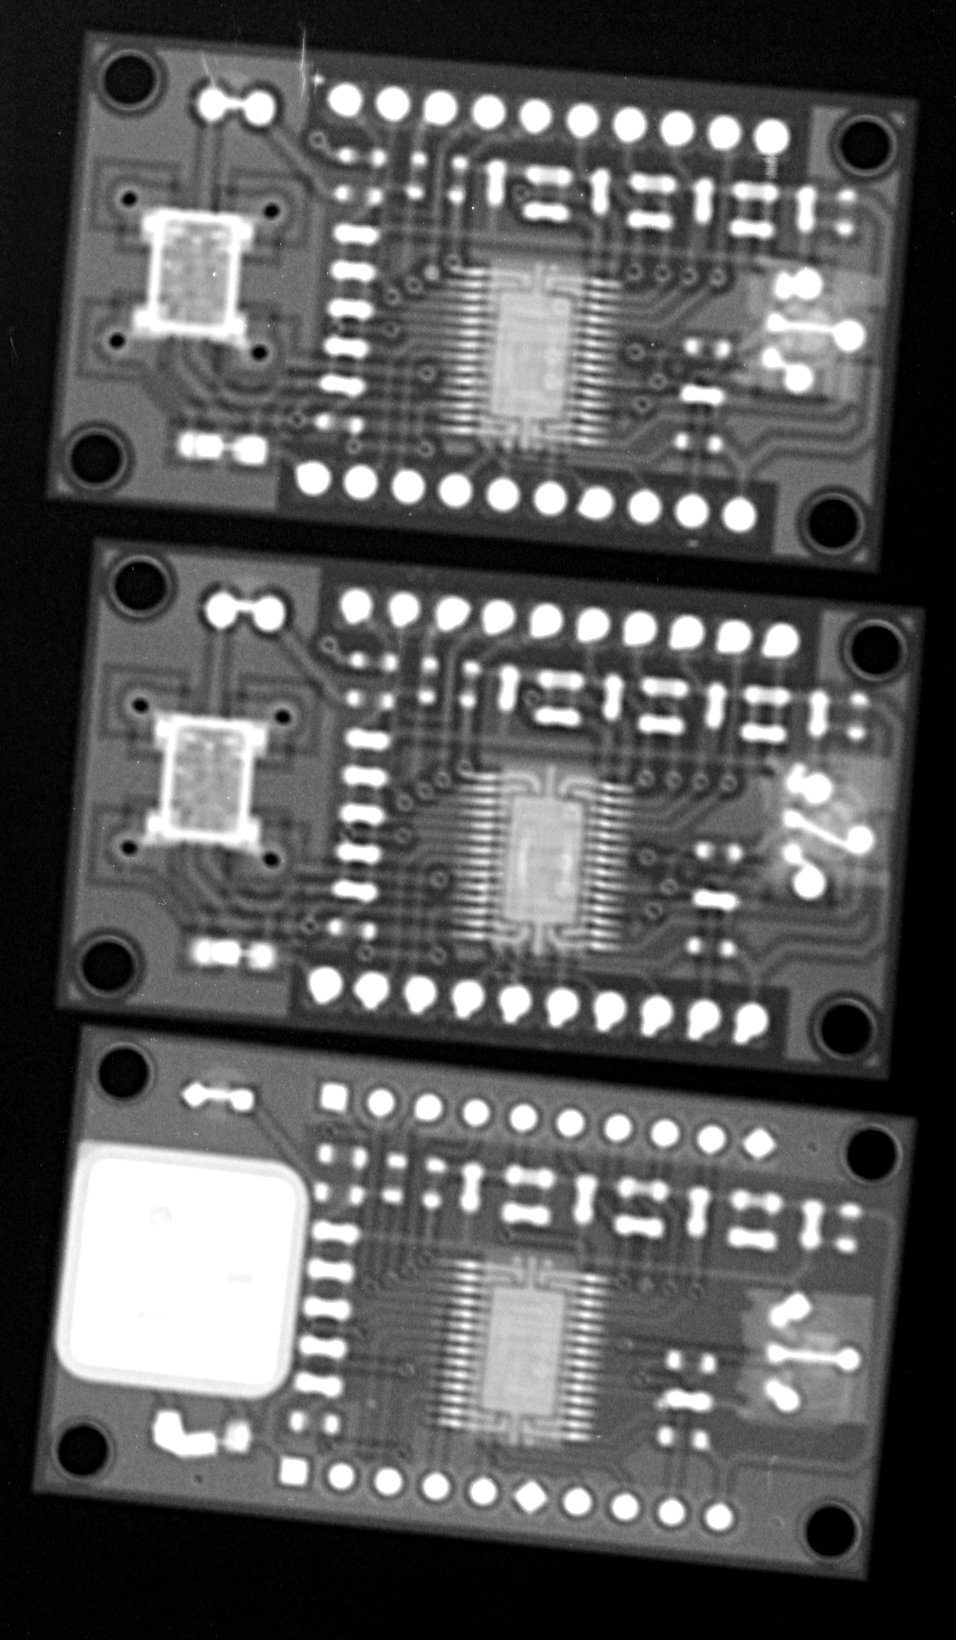
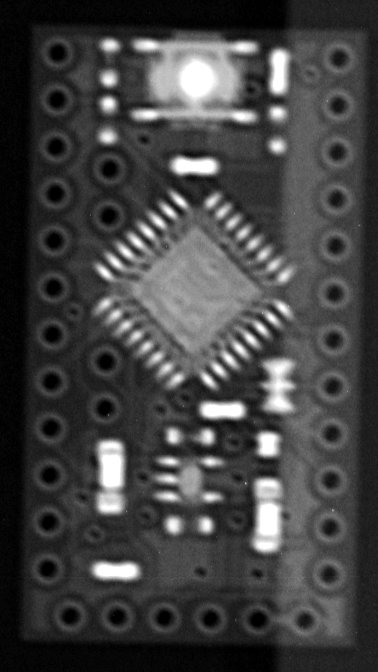
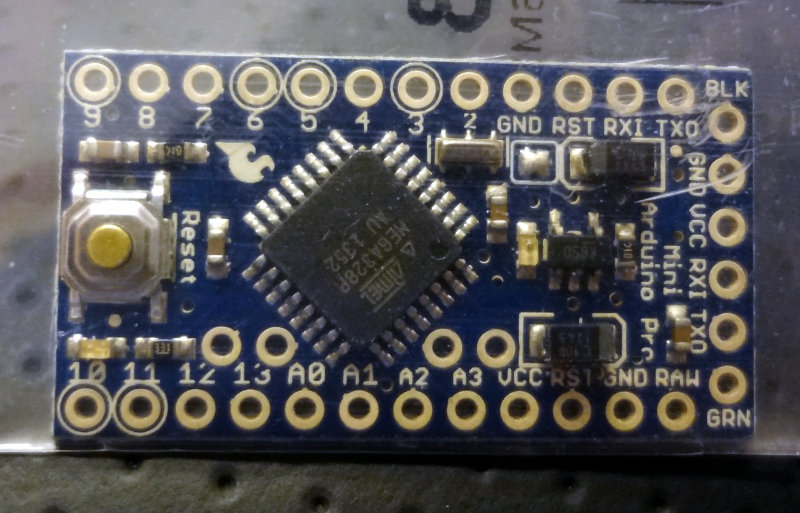
Continuing the tradition of making radiographs of my electronic things, I got a radiograph of my new Nexus 5, the DDS modules and the Arduino Pro Mini.

The Nexus 5. The battery takes up a good bit of the space inside. The square object to the right of center near the top is the camera module. The SIM card tray is easily visible below that. The boards look pretty crowded (click for the jumbo sized image).

Nexus 5 x-ray
Nexus 5 x-ray

The AD9850 modules. Not a whole lot to them. The crystal in each module is easily visible as the rectangular object on the left. The AD9850 chip is in the middle.

AD9850 modules
AD9850 modules

Sparkfun Arduino Pro Mini. Not a whole lot to this either. There’s the AT Mega 328P chip in the middle, and at the top is the reset button.

Sparkfun Arduino Pro Mini x-ray

All images were acquired using an 8″x10″ cassette. X-ray technique was 80 kVp, 5 mAs with the small focal spot (0.6 mm). Source to image distance (SID) was 172 cm, and the object to image distance (OID) was about 100 cm giving a magnification factor of about 1.7. This results in some magnification blur, but at this magnification, the Nexus 5 takes up pretty much all of the cassette.

More Arduino and some DDS modules

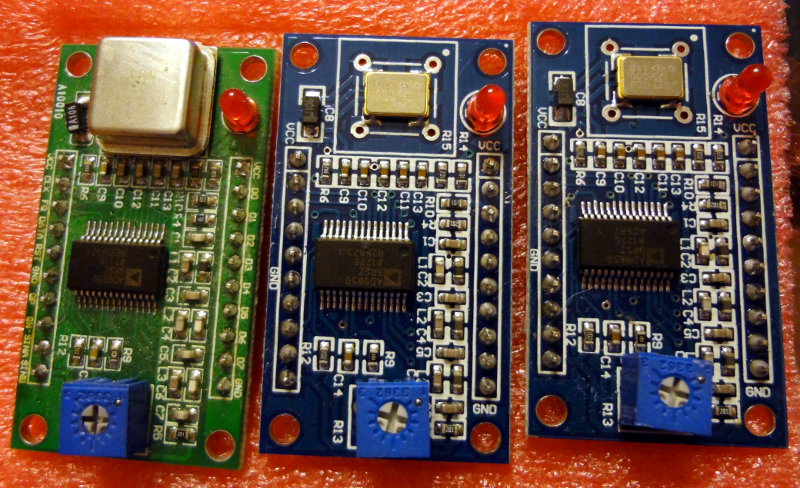
Jason/NT7S was doing some more shack cleaning so I took the opportunity to buy an Arduino Pro Mini and some AD9850 DDS modules he put up for sale.

Arduino Pro Mini
Arduino Pro Mini
AD9850 DDS modules
AD9850 DDS modules

No immediate plans for either of them yet. I’m looking forward to learning more about the DDS modules and figuring out how to use them with the [Net|Ar]duinos.

The workbench

Thought I’d show off some pictures of the current state of my workbench, now that I’ve started to build up some inventory. No current projects on it yet, but I’m planning on finally getting around to building the Softrock Ensemble RXTX kit.

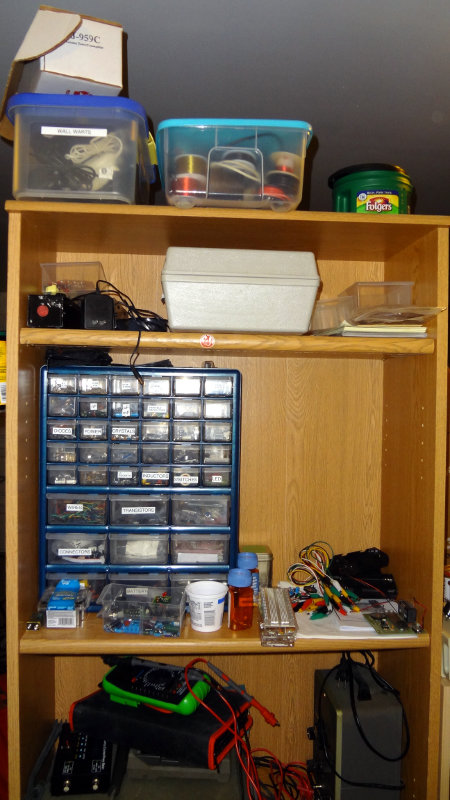
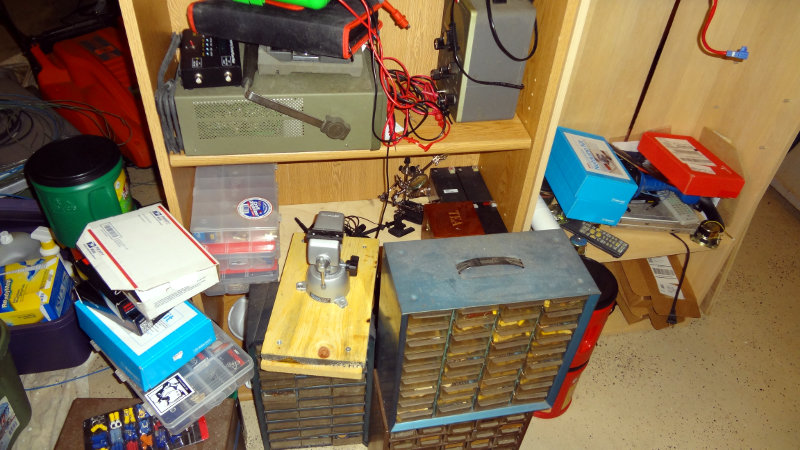
Parts storage. Going to need more space soon. Up top are a couple of storage bins with wall warts and wires. I think I’ll need another parts bin soon. Below that is the test gear: oscilloscope, Heathkit signal generator, DMM and some tools.

A bookshelf containing electronic tools and boxes of electronics parts

The one bookcase on the right needs me to put in another shelf or two. More parts bins and stuff that needs to be put away properly.

Parts bins and electronics components

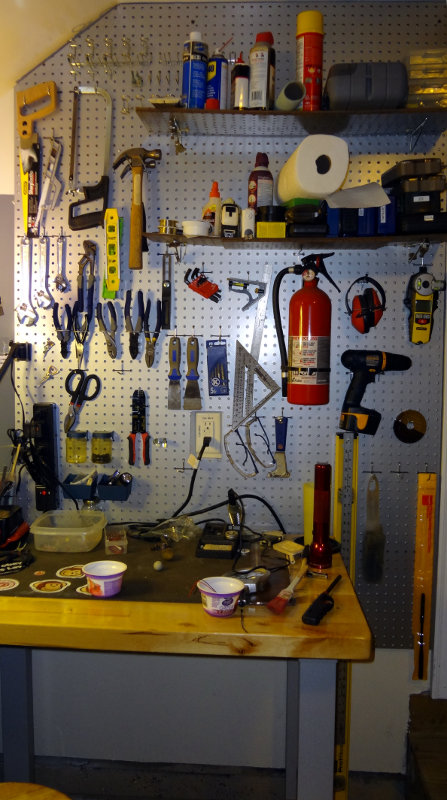
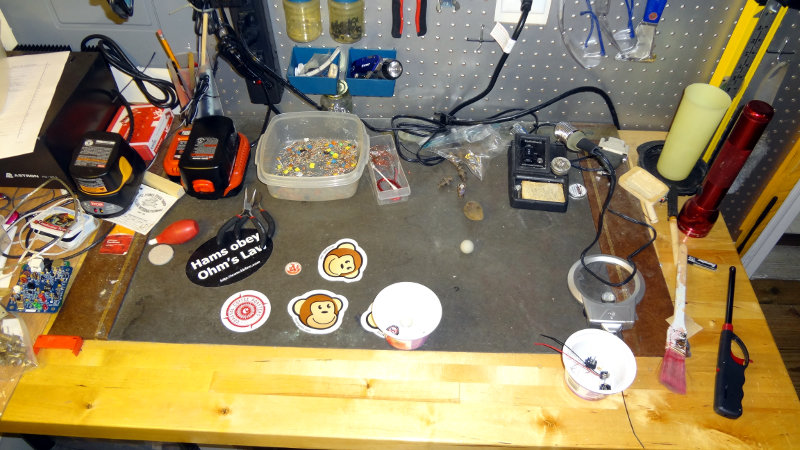
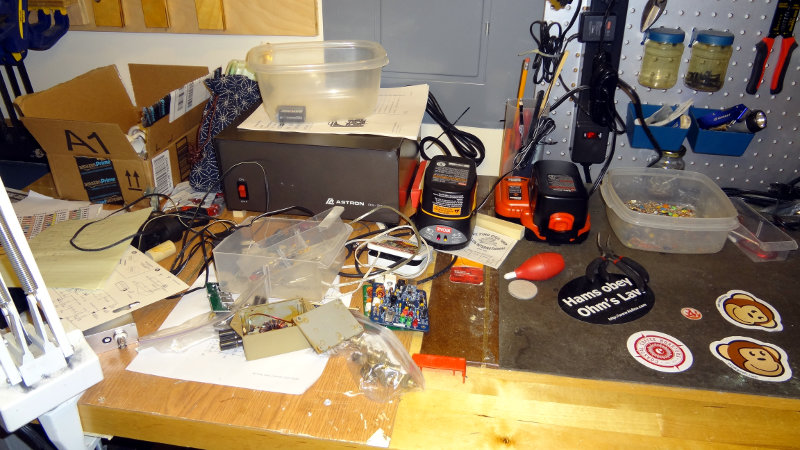
The workbench itself is starting to get a little cluttered.

Tools hanging on pegboard mounted on a wall and a workbench

The Radio Shack soldering station has been working out pretty well, especially after I replaced the stock tip. It’s not fancy, but it gets hot enough to melt solder, which is really what counts. I’ve found that yogurt cups make great containers for holding components while I’m working on a project. An old paint brush is very useful for sweeping up the dust, wire trimmings and little bits of solder that end up on the bench.

The Astron RS-35A provides a nice source of 13.7V power for the bench, although I’d eventually like to get a variable power supply so that I don’t have to keep rummaging through the wall warts to find something suitable.

The only problem with having the workbench in the garage is that temperature control isn’t that great. A little portable heater for the winter and a box fan for the summer come in pretty handy though.